
How to build a pool
How to design and build a swimming pool from scratch on a heavily sloping site
In 2017 I embarked on a project to design and build a complete swimming pool from scratch without using any contractors. As with all construction projects, delays ensued and what I originally envisaged to be a three-month project took more than six months to complete (or twelve including breaks for winter, travel etc.).
Below are a series of articles in chronological order documenting the very laborious, but always interesting process.
Testing the limits of online self-education
So I’m building a pool. More precisely, I’m building a pool, a deck, supporting retaining walls, storage cupboards, privacy shield, garden beds, and lighting,
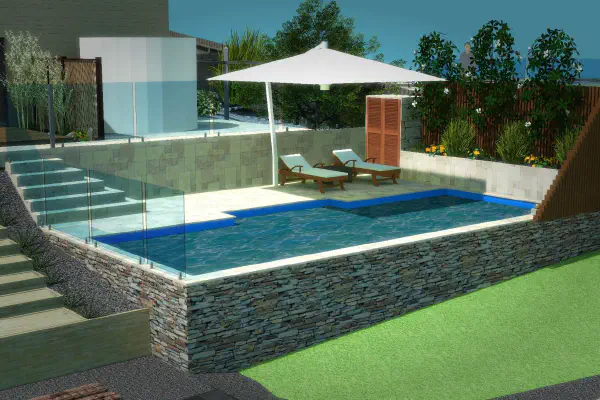
Detailed design
Fiberglass pool or concrete pool? Concrete pools are built directly in the ground onsite. Concrete (or more often shotcrete) is set on a framework of steel reinforcement and then plastered or tiled. Concrete pools are endlessly customizable and can be built to suit any site.
Choosing a pool shell
Fiberglass pool shells come in a variety of shapes and sizes, but are broadly similar in their construction. They generally consist of a number of layers of fiberglass and other materials and a final “gelcoat” finishing layer that is the finished surface of the pool.
The autodidacts' era

It struck me recently that this endeavor would not have been remotely possible pre-Internet, or even pre-YouTube. The ability to track down tutorials, instructional videos, and professional forum discussions on topics as diverse as structural engineering to how to stop a wedding (I kid you not).
Documenting the process
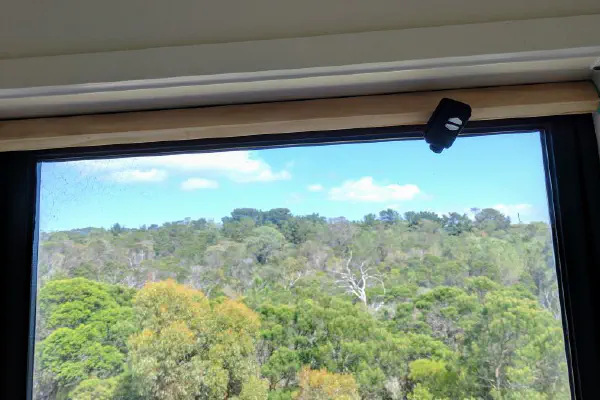
Installing a Mobius ActionCam to take periodic photographs of the site. We will assembled the stills into a time lapse video at the completion of the pool construction project.
Demolition
Before we can begin building the pool, a certain amount of destruction is required. Specifically, we need to:
Demolish the red brick paving above the pool area. Remove the sleeper retaining walls currently in the pool area. Transplant all of the vegetation to other areas of the garden. I’m not a big fan of the red bricks and especially so given that the other side of the house has wooden decking. Wooden deck + travertine paving + red brick is one too many materials.
Excavation preparations
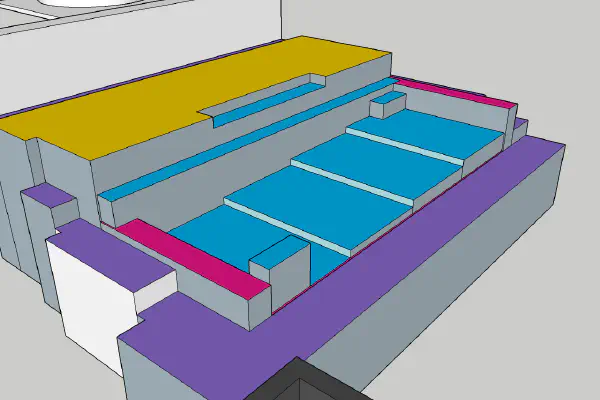
Alrighty, it’s excavation time. To prepare for the dig I made the dig plan below:
Dig plan showing the elevation of each area to be excavated
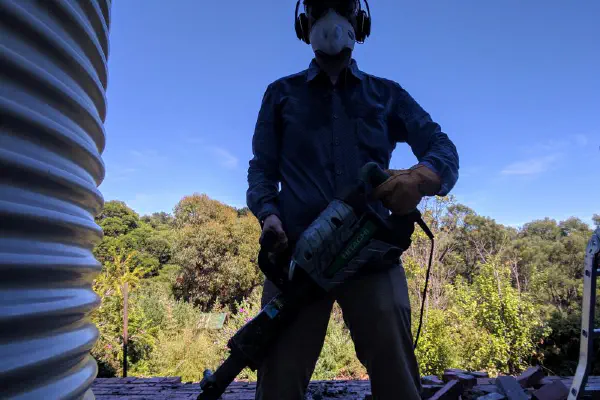
Digging time!
I’ve just completed two full days excavating and the site is taking shape.
1.7 tonne excavator
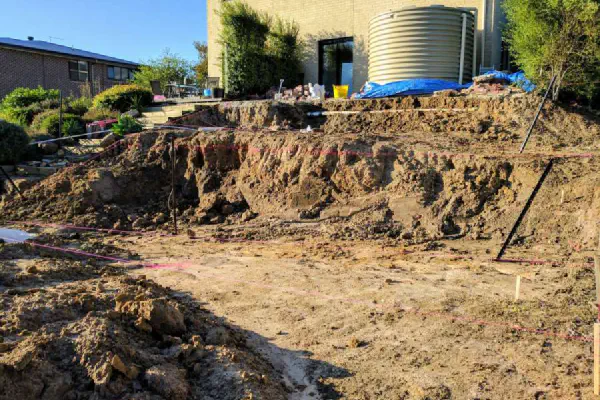
Excavation (mostly) complete!
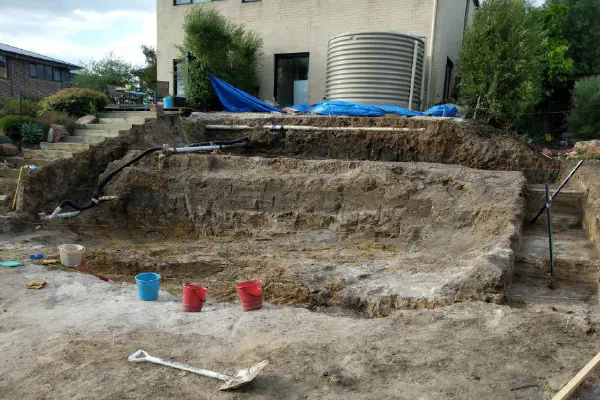
Mostly. There is still plenty of shovel work remaining to get the footing trenches exact, and there’s a substantial amount of manual digging to do in the areas pipes were discovered during the dig, but the rough (read machine) excavation is complete.
Collapse!
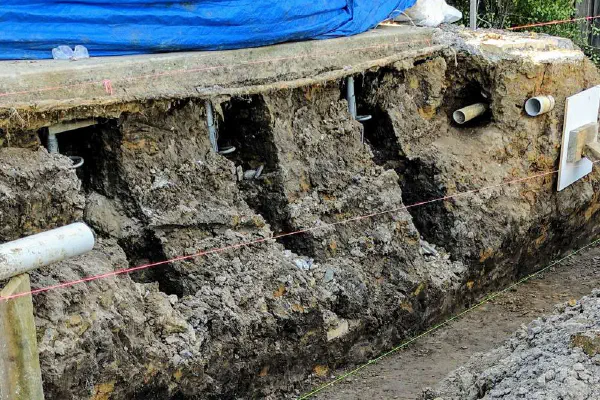
It was always likely that the unpropped excavated wall at the rear of the pool deck would collapse if it got significantly wet. We were intent on avoiding this by ensuring that it was well protected from the weather.
Finalizing the excavation
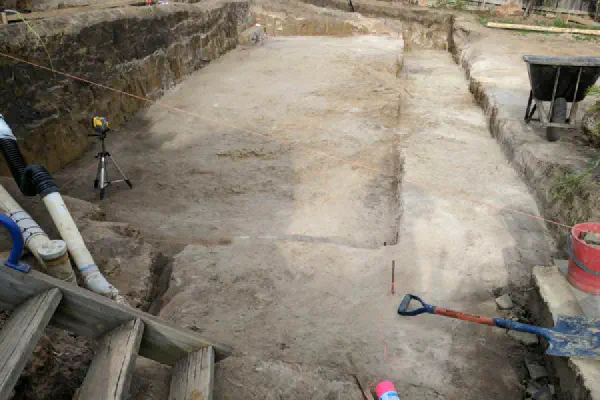
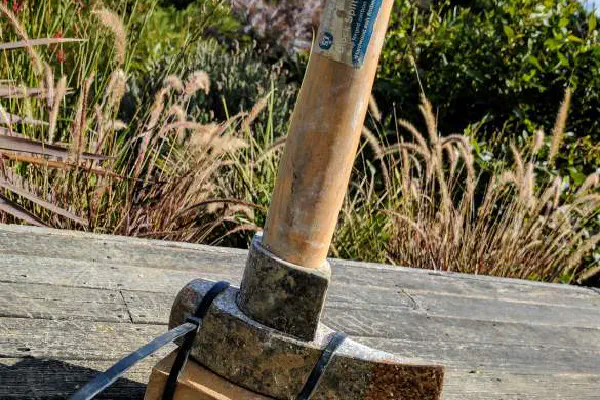
With several backbreaking days of pick and shovel work behind me, I think I can finally call the excavation complete. Things went mostly according to plan, with the exception of a possible miscalculation of the pool wall to wall width…
Building the time lapse video
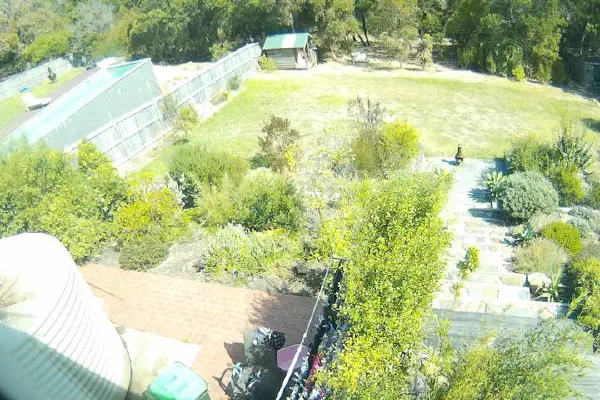
Before embarking on this construction project, I setup a camera to take a single photo every 10 minutes during the entire process. Time lapse camera setup in the second floor bathroom
How to avoid your pool turning into a boat

There are many drainage aspects to this project.: A plethora of drainage locations Long drain behind the upper retaining wall to prevent water placing pressure behind the wall. Trench drain on top of that wall for surface water. Trench drain on the pool deck for splash water and rain. Subsurface drain for edge landscaping. Drainage for flower bed. Drain beneath pool to prevent hydrostatic pressure. We’re addressing this last one today.
Pipes rerouted and repaired!
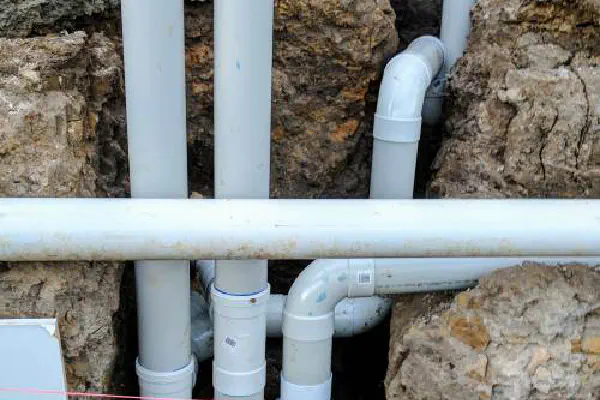
We finally had the plumber here today to repair and reroute the pipes that were “discovered” during the excavation. Because they connect to the public utility, we’re not permitted to repair the pipes ourselves, but we can (and did) prepare the trenches for the new route, so it was just a matter of laying the pipe and cementing a few connections.
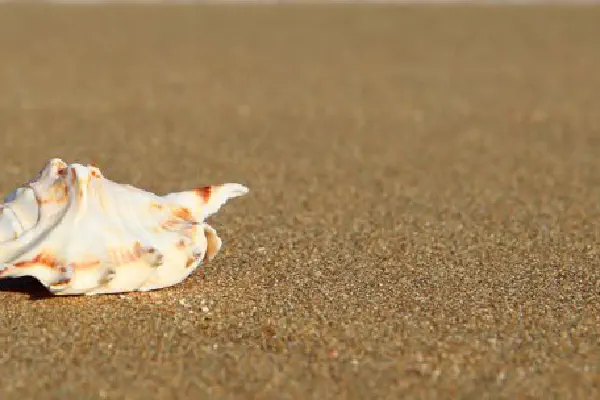
Turtles all the way down
But everyone who hears these words of mine and does not put them into practice is like a foolish man who built his house on sand Mathew 7:26 And yet sand is a popular base material under foundations :P
Making a bed
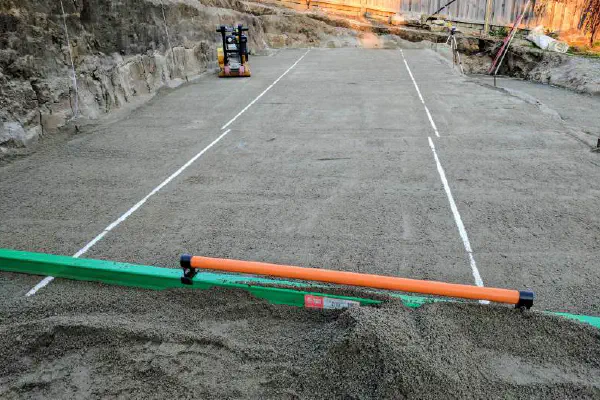
As with the concrete footings, the pool shell can’t sit on bare earth.
Popular base materials include sand, small screenings (i.e. gravel), and crusher dust. We’re using the latter. Crusher dust is crushed rock with a maximum size of 5mm (~1/5 inch). It’s fine, somewhat sand-like in texture, and like road base, compacts well to provide a hard, even surface.
Special delivery
With the pool base compacted, screeded and ready, it’s time to put the shell down.
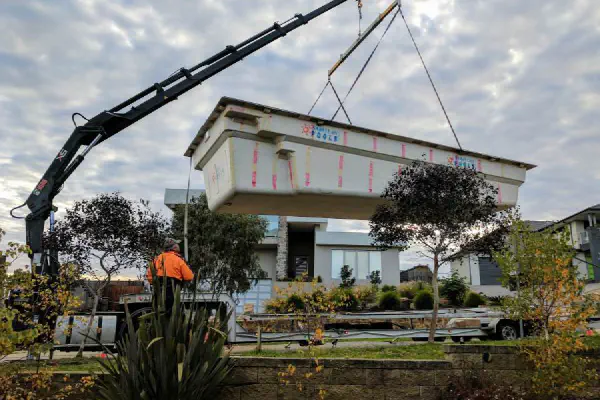
The pool site itself is in the back garden and there’s no access for a crane so we’ll be lifting it over the house from the street. That will be no small task as the house is two stories and the site is over 40 meters (~130 feet) from the street. Given the distances involved, moving the pool into place will be a two step process:
Now that's a crane
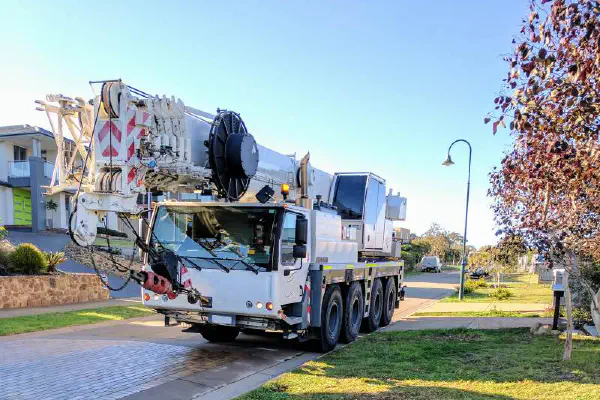
70-tonne Liebherr mobile crane arriving It’s time for step two of moving the pool shell into place (step one being already complete).