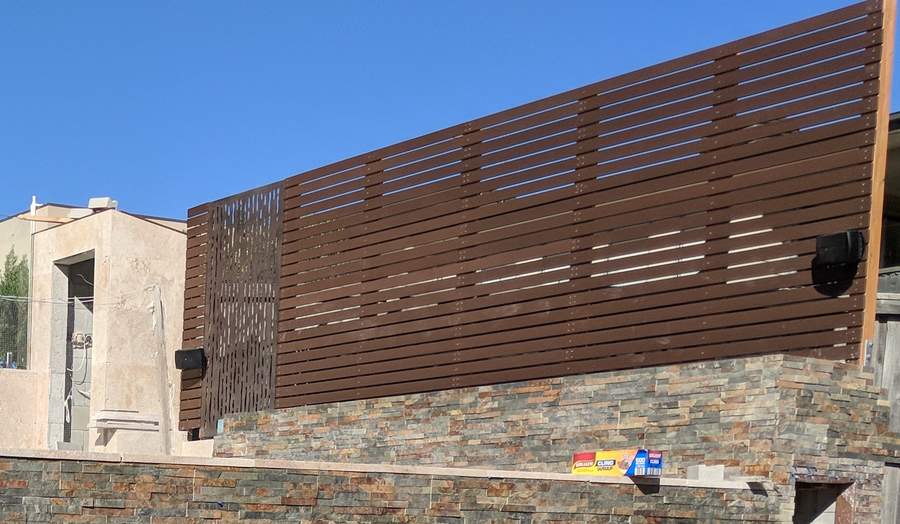
Our block straddles a a hill that slopes down towards the ocean. This provides tremendous views on the downhill side, but at the cost of providing the uphill neighbors an elevated perch from which to witness our summer frolicking.
In the service of privacy, we decided to erect a modest privacy fence at the uphill end of the pool. Rather than full blackout, we are using 70mm horizontal slats with 10mm gaps between the slats. This gives ample privacy, while still allowing light through.
The fence sits atop the rear concrete wall behind a flower bed.
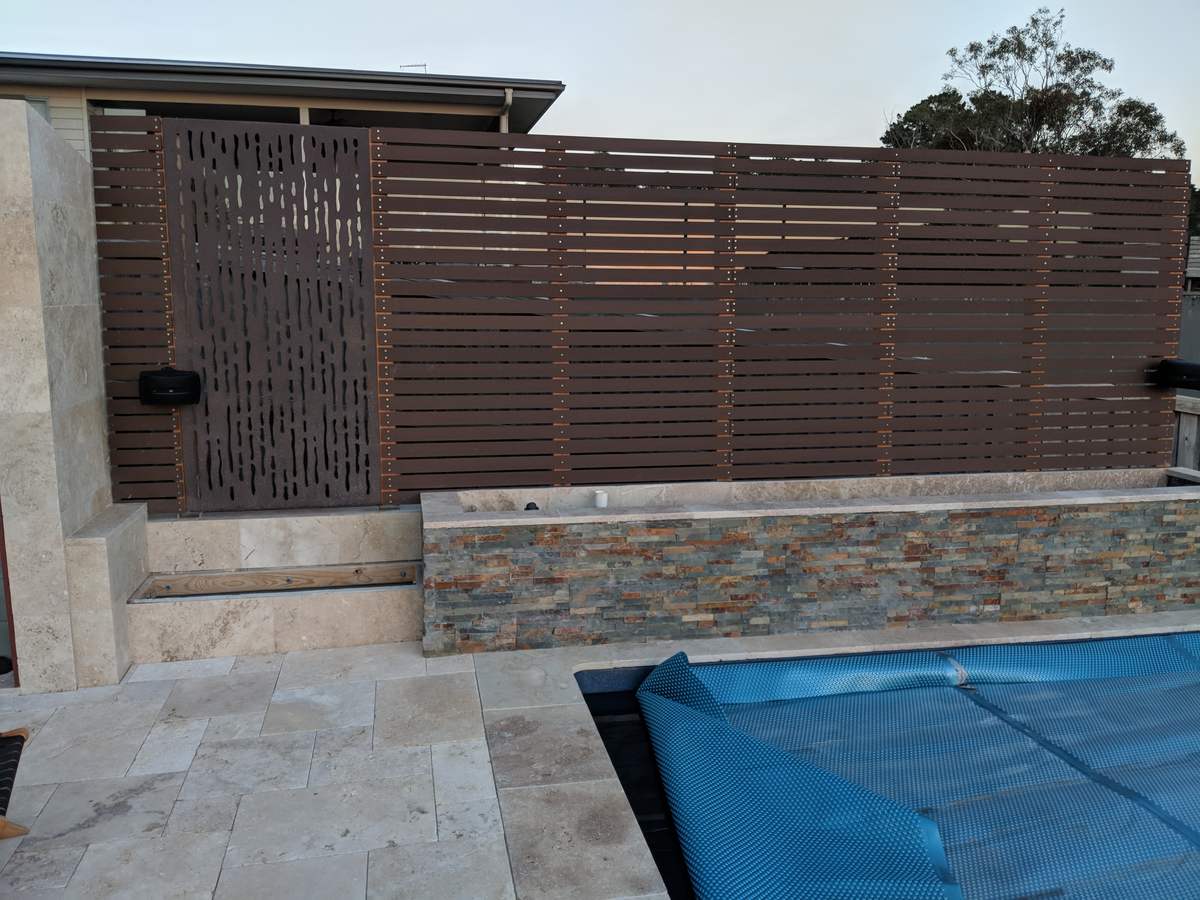
The privacy fence design with flower bed in front.
For maintenance reasons, we’re using a composite wood/recycled plastic product in lieu of timber. One consequence of this is that fence posts are required every 900mm, given the tendency of plastic based products to both expand and sag as the temperature rises.
With 900mm spacing and a height of 1800mm, calculations accounting for potential wind loading give us a required post size of 90x90mm. The more difficult question is how to attach the posts to the top of our our retaining wall.
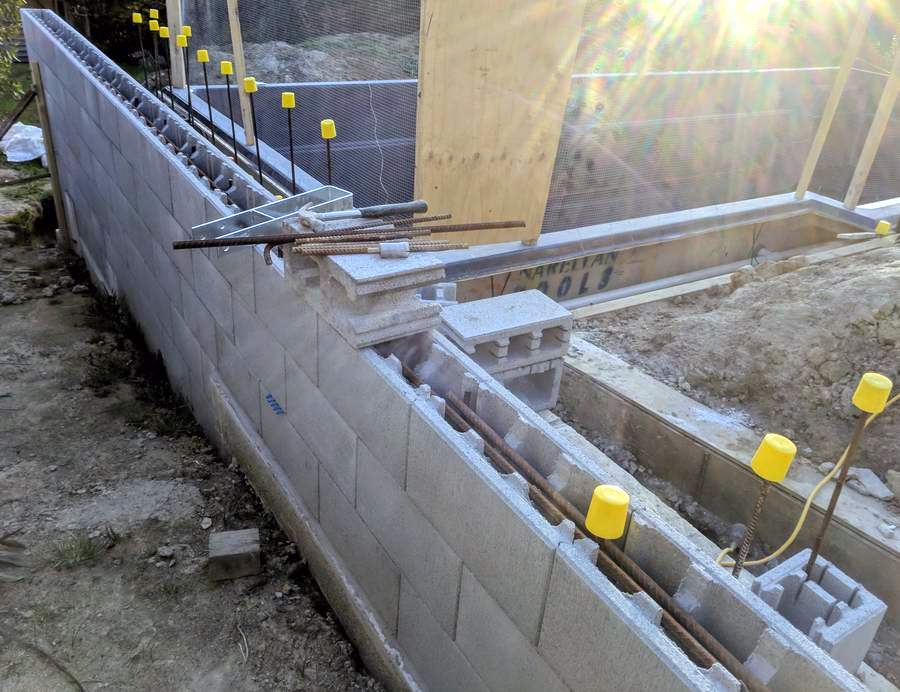
The base wall for the privacy fence prior to filling the wall with concrete.
Although not ideal, we’re using U post anchors, which are secured into the wall prior to filling it with concrete. The wall->anchor connection is extremely strong, but the anchor->post connection is less so, given it relies on the compressive grip of the anchor. ideally the anchors would have been installed perpendicular to the fence, but size of the wall cavity didn’t allow for it.
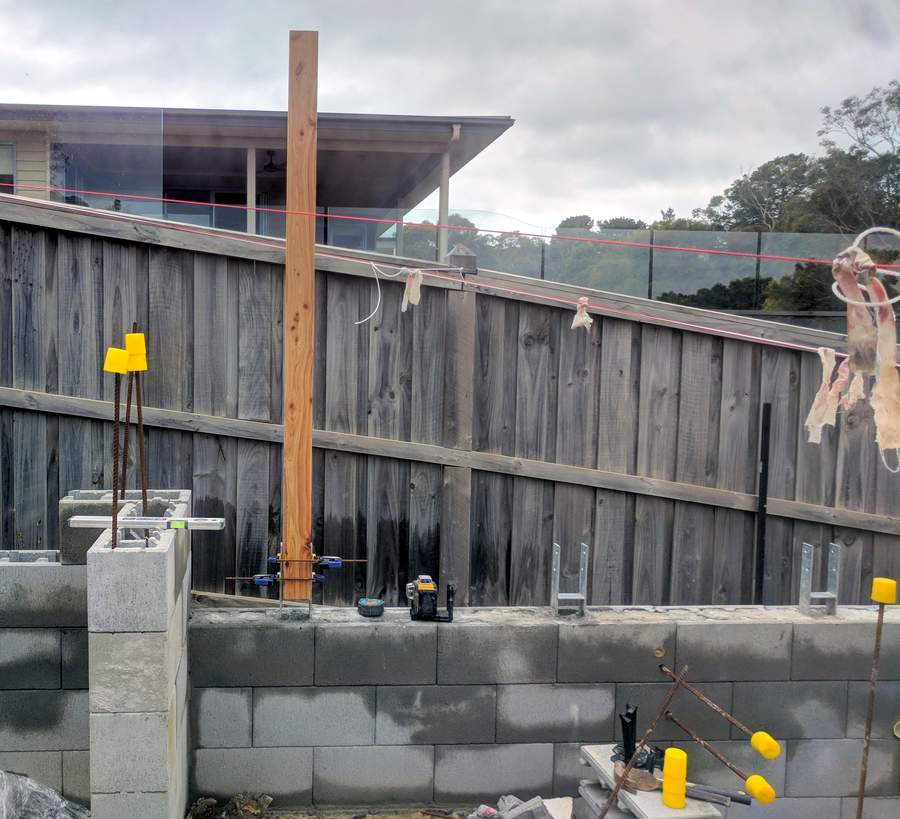
Post anchors concreted in place with single post connected
Once the posts are connected, it’s a simple, but laborious task of measuring, clamping, drilling, and screwing the slats, while ensuring that they are absolutely level and evenly spaced.
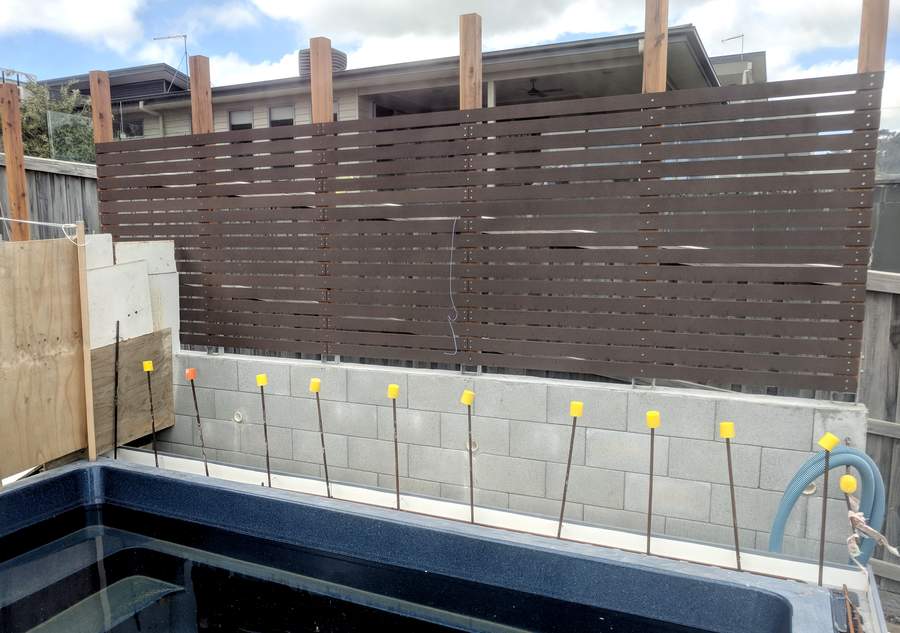
The fence taking shape. Prior to the flower bed wall being built.
As a feature piece, we added a laser etched steel sheet on the left end of the fence, sitting directly behind where a wooden seat will be built. The steel sheet breaks up the lines and provides a more interesting backdrop for the seating area.
The finished fence can be see below. It should look a whole lot better once it has some bright green foliage in the flower bed.

