Not content to labor myself with only a pool, deck, stairs, fence, etc., my initial design calls for a wooden seat and storage cupboard at one end of the pool deck.
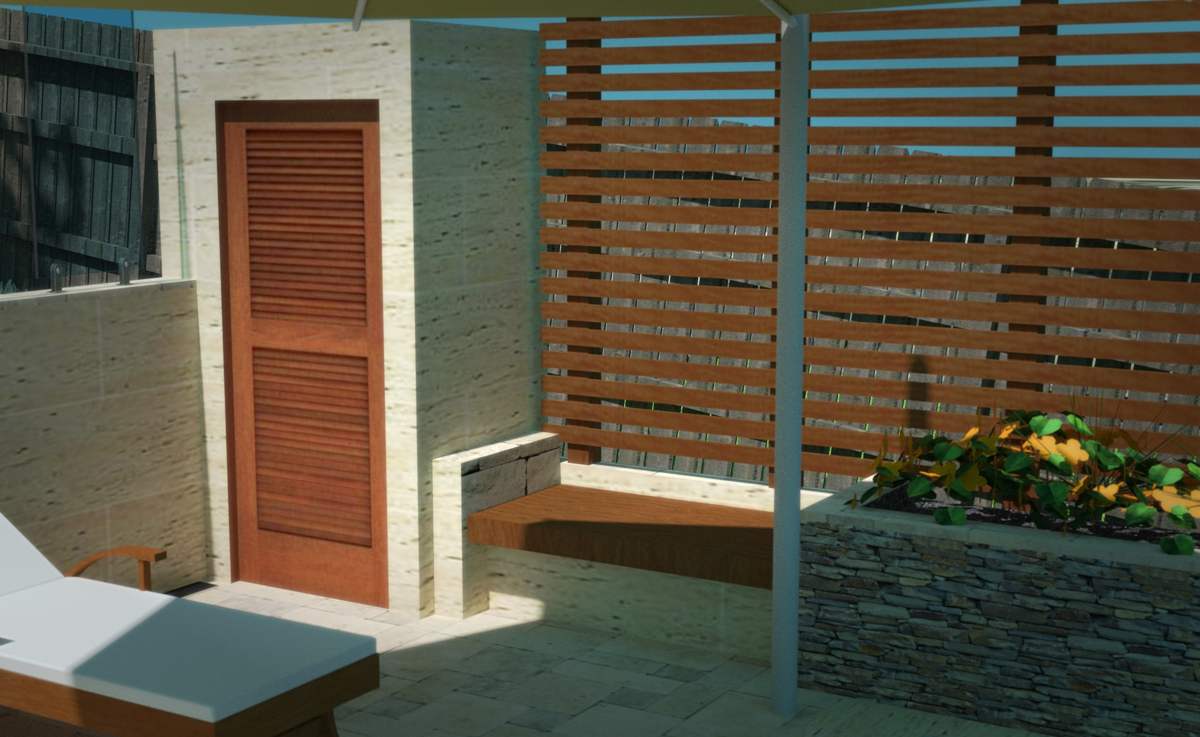
Computer render of original design for the seat and cupboard area
Tormenting myself even further, I decided that the seat should be hinged and provide access to a storage area underneath. All of these design decisions were made with no idea at the time as to how I’d actually build it.
Inevitably, the time arrived however, when general hand-waving about putting some concrete under there, and some wood on the top there, was no longer sufficient and actual detailed design work was required.
A very, very, sturdy cupboard
Everything might look like a nail to a man with a hammer, but to a man with a concrete mixer and an excess of sand and coarse aggregate, well, let’s just say that a solid concrete cupboard shouldn’t come as any surprise.
The cupboard probably should have been constructed with a wooden frame, compressed cement sheets fixed to the outside, followed by the stone tile facade. But the aforementioned tools and materials, and the already built rear and side retaining walls (which form the bottom 1.2 meters of two sides of the cupboard) conspired to convince me to just keep extending those walls up and use concrete for the rest of the structure.
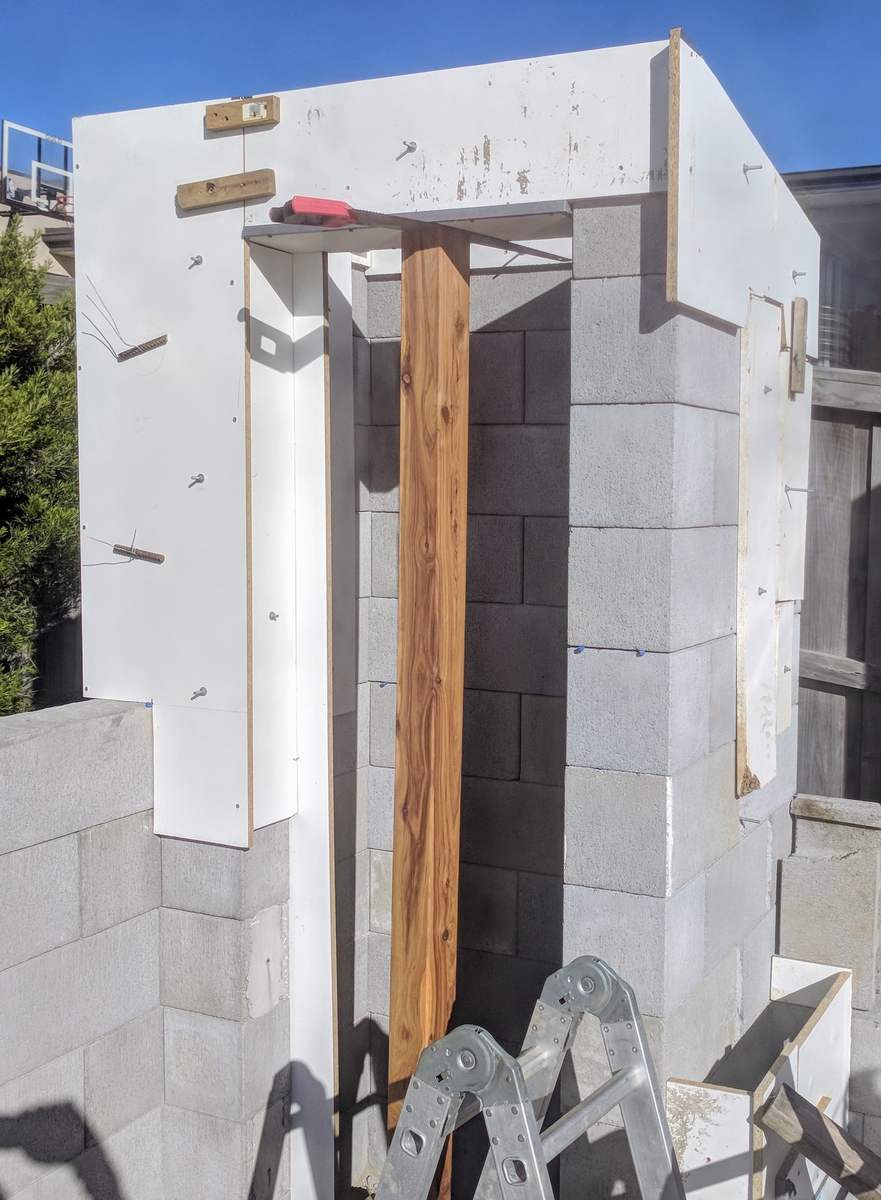
Forms in place, ready for concrete
The result is possibly the strongest domestic storage cupboard ever constructed, with 190mm thick steel reinforced walls.
For the roof, I made a simple wooden frame, affixed a cement sheet, and covered it with copious amounts of waterproofing bitumen.
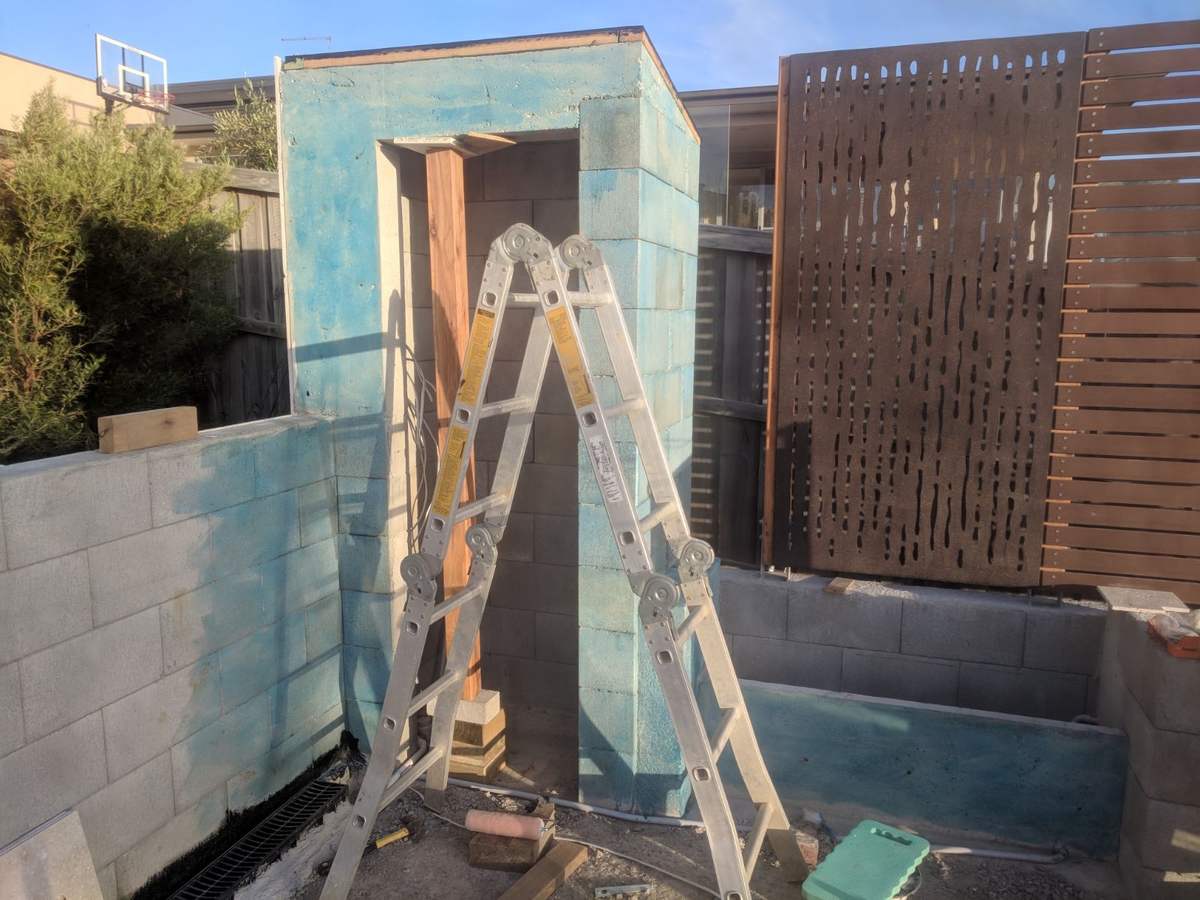
The completed cupboard prior to tiling and door/frame fitting
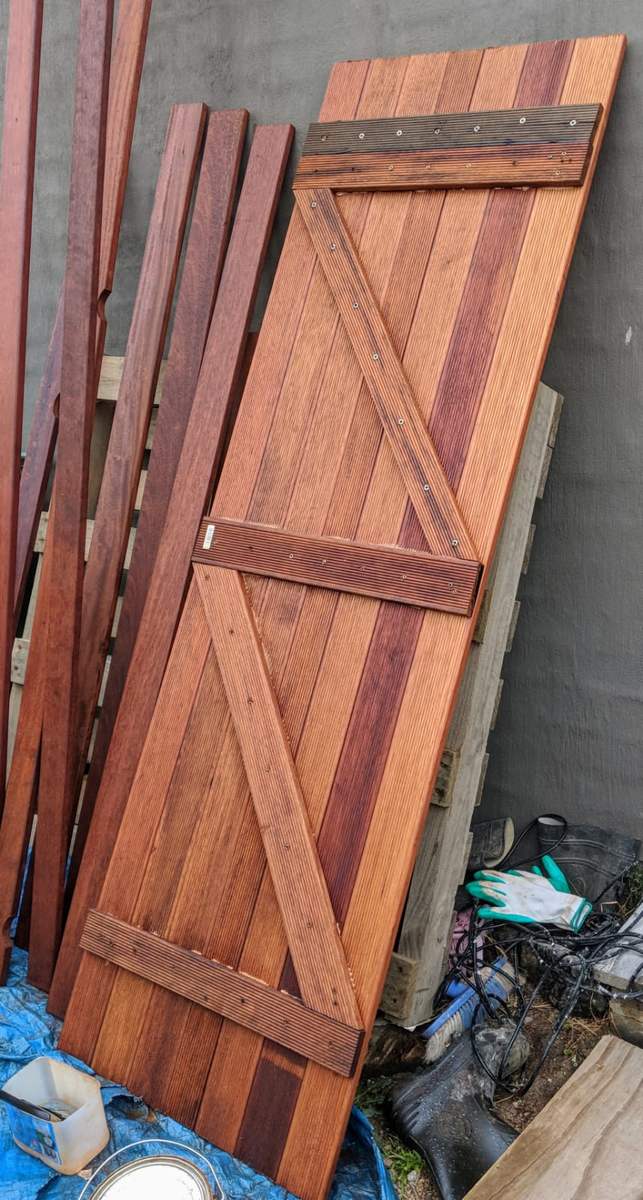
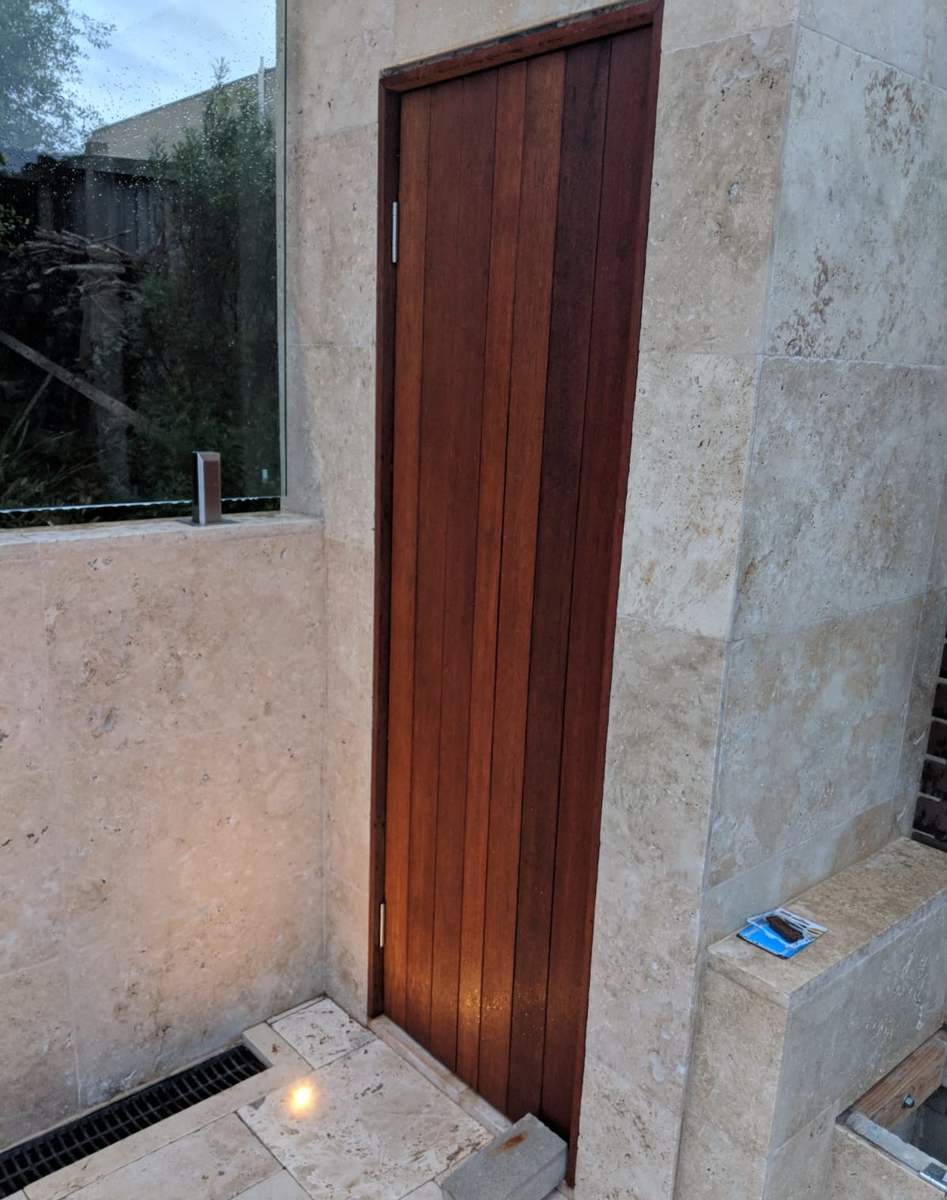
In hindsight, I realized that I should probably have made the doorway a standard size, allowing me to purchase a ready made door. Instead, I had to make a custom wooden gate, using the same hardwood that we’re using for the deck above the pool area. I’m not entirely sure on the right way to build a door/gate, but a Z-based design with many plenty of glue and screws seemed to produce a reasonable result.
I used the same wood to build a door frame and casing around the edges.
You can never have enough storage space
The seat area is walled by the cupboard and flower bed on the sides and the privacy fence retaining wall on the back. I decided to form a thin concrete wall to support the front of the seat, and then build a wooden frame atop it to rest the seat on.
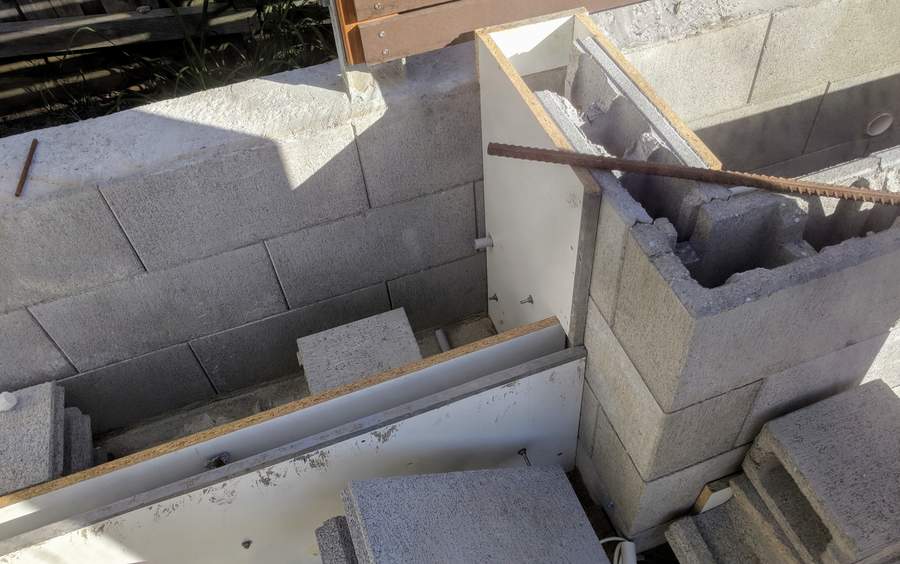
Formwork for front seat support
The frame slopes gently to the front to ensure any rain water drains down the front of the seat support rather than into the storage area.
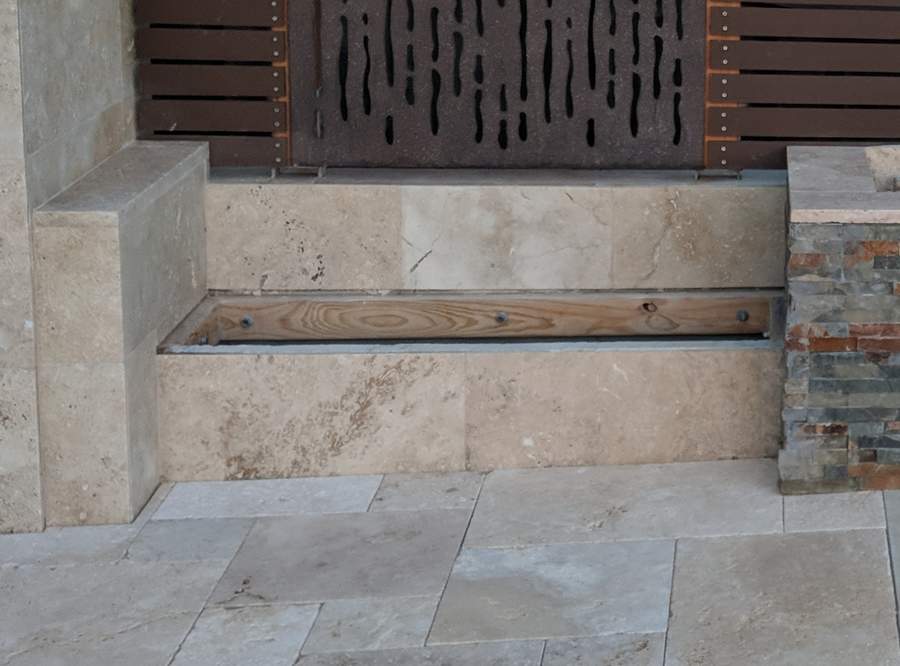
Wooden frame secured to the wall with massively overspec threaded rod
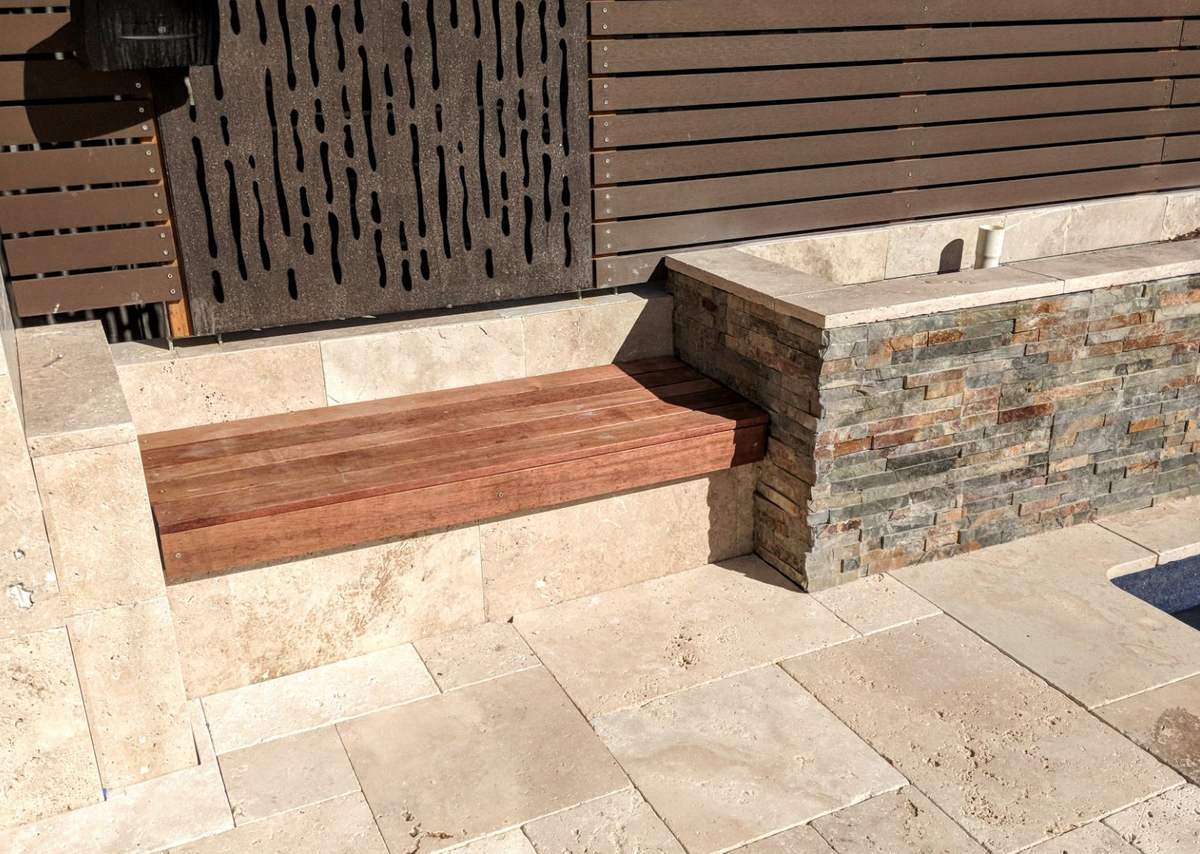
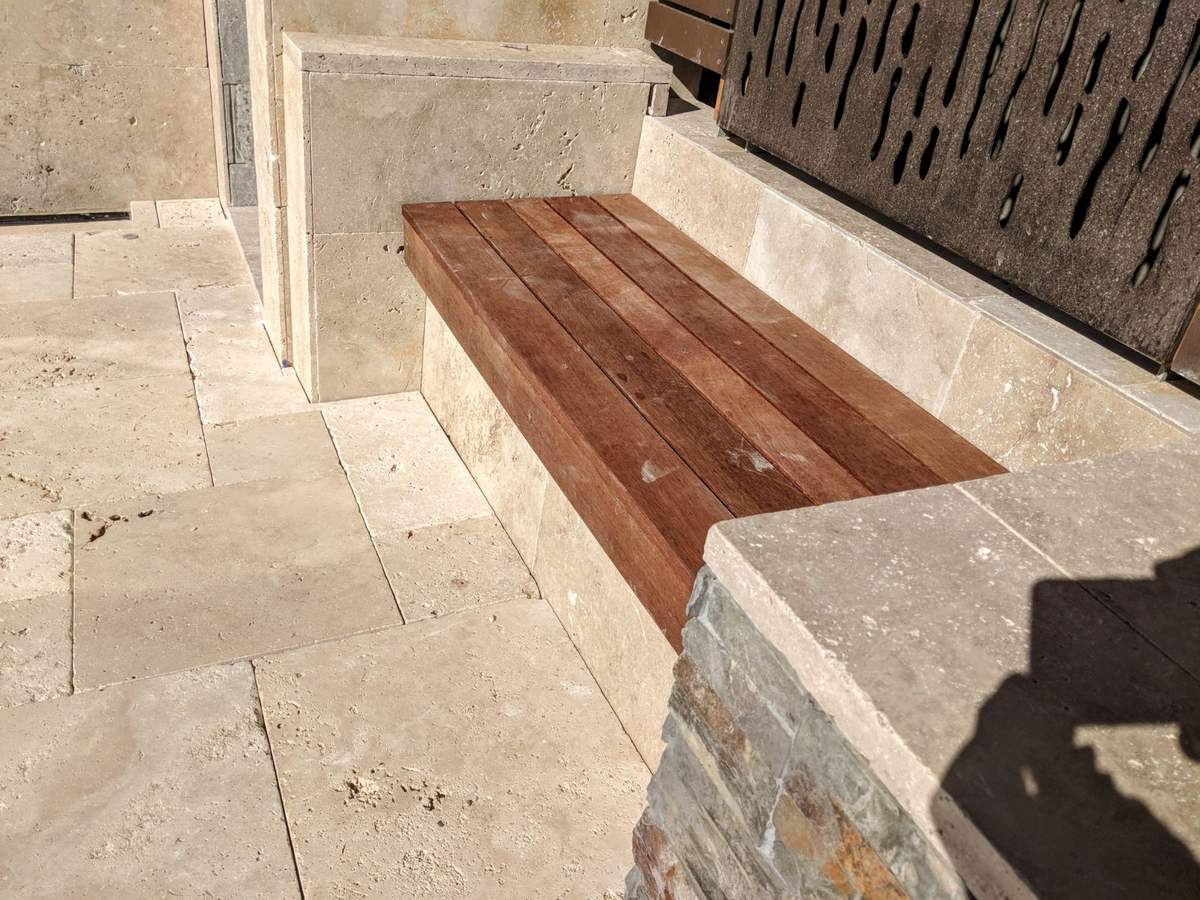
Keeping everything suitably matched, the same deck/cupboard door wood was again used to make the seat, which consists of a treated pine frame with the hardwood mounted atop.
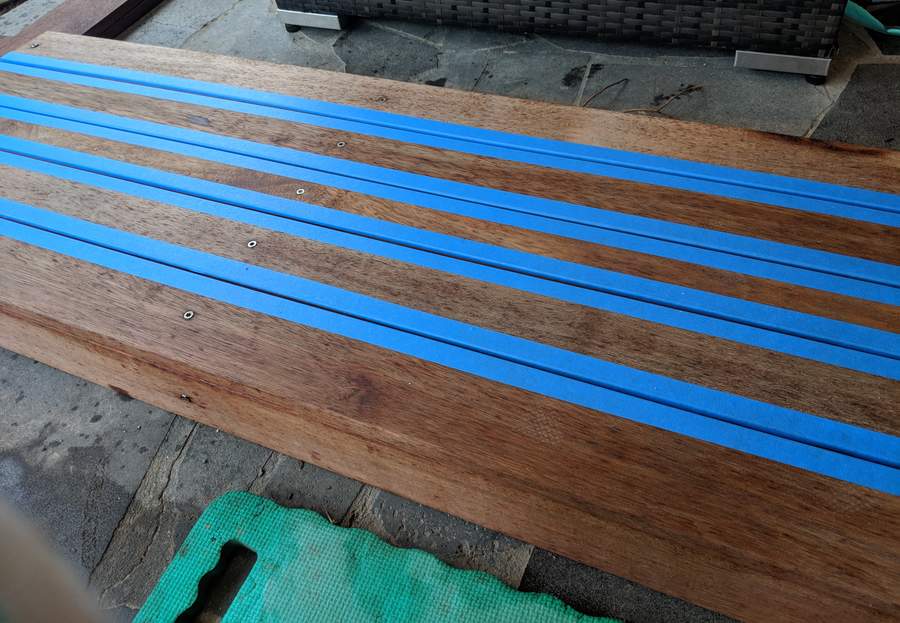
Siliconing the gaps between the boards of the seat
Seat completed and installed
I hinged the front edge of the seat to the front support and attached some wire on either side to limit the maximum opening. A small tab on the rear of the seat allows it to be lifted up and forward to access the area underneath. Opening in the forward direction prevents any water on the seat from draining into the storage area when it is opened, and also allows it to remain open without holding it.
Unfortunately the photos below don’t really show the mechanism or the open position so you’ll need to use your imagination.

