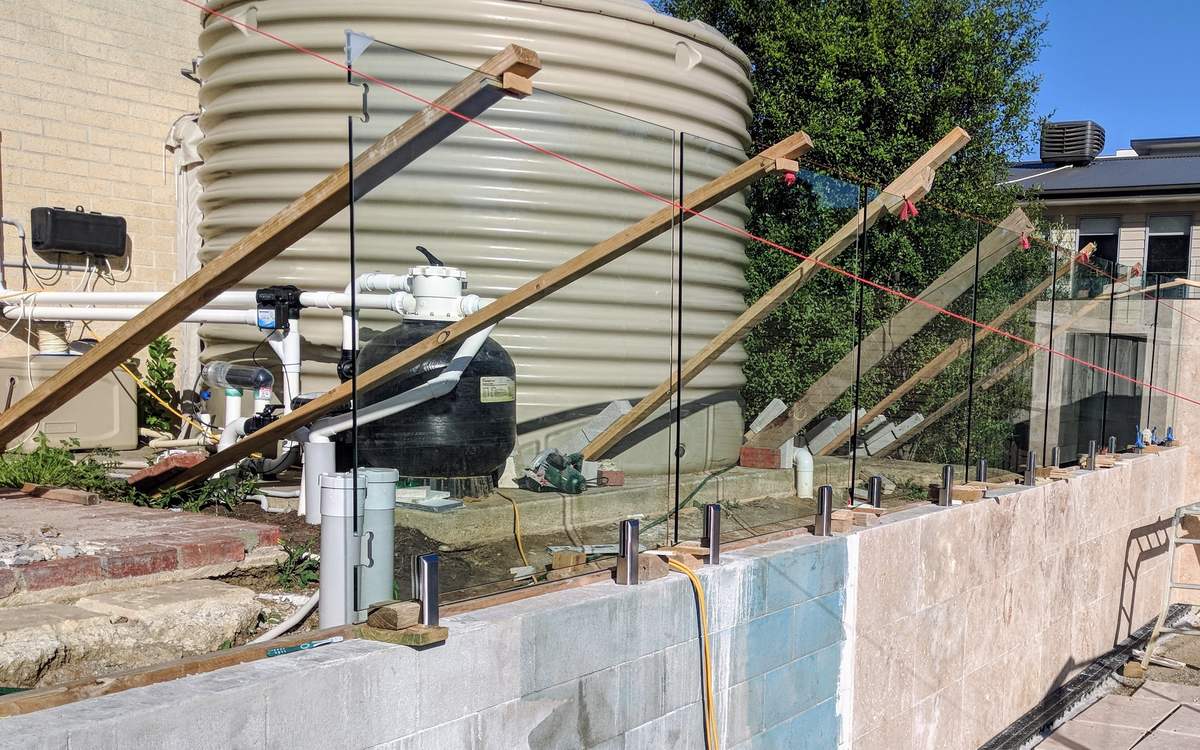
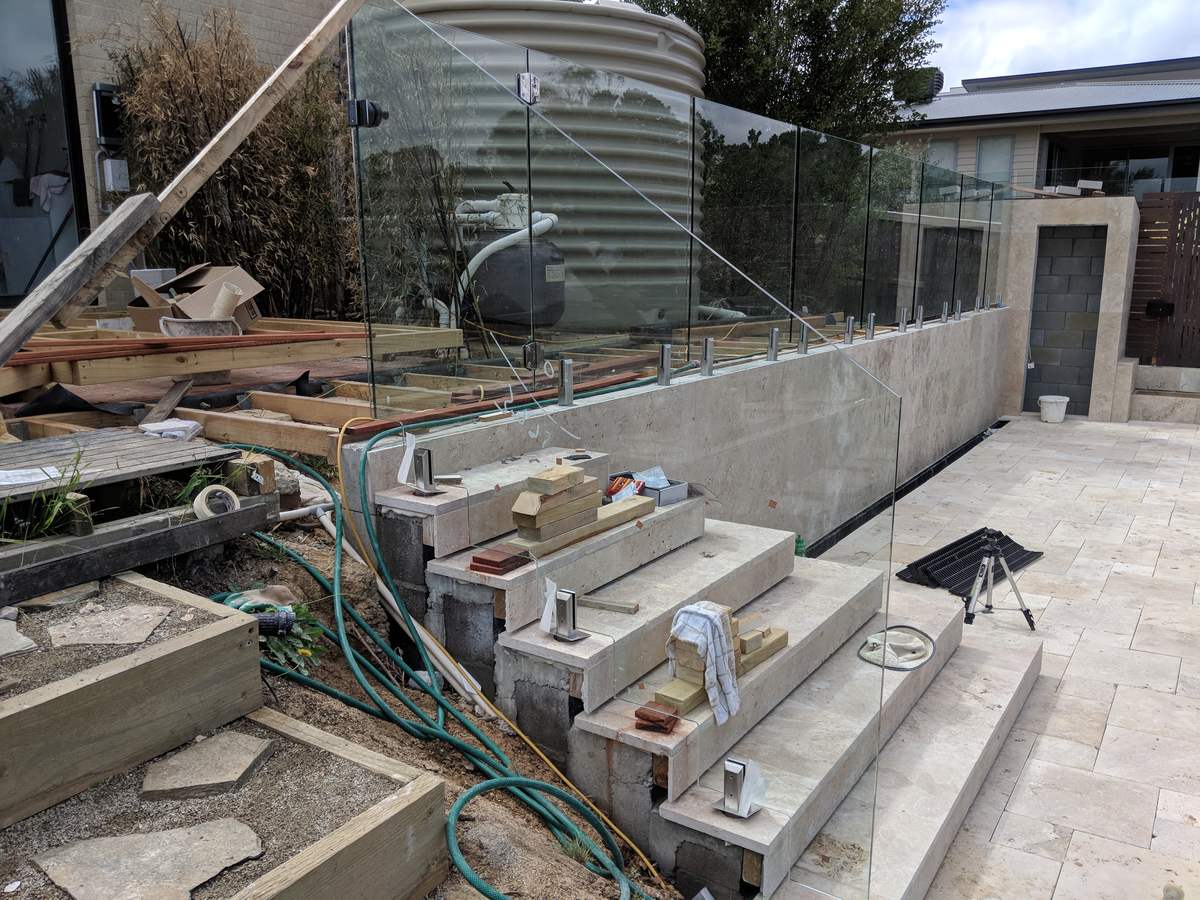
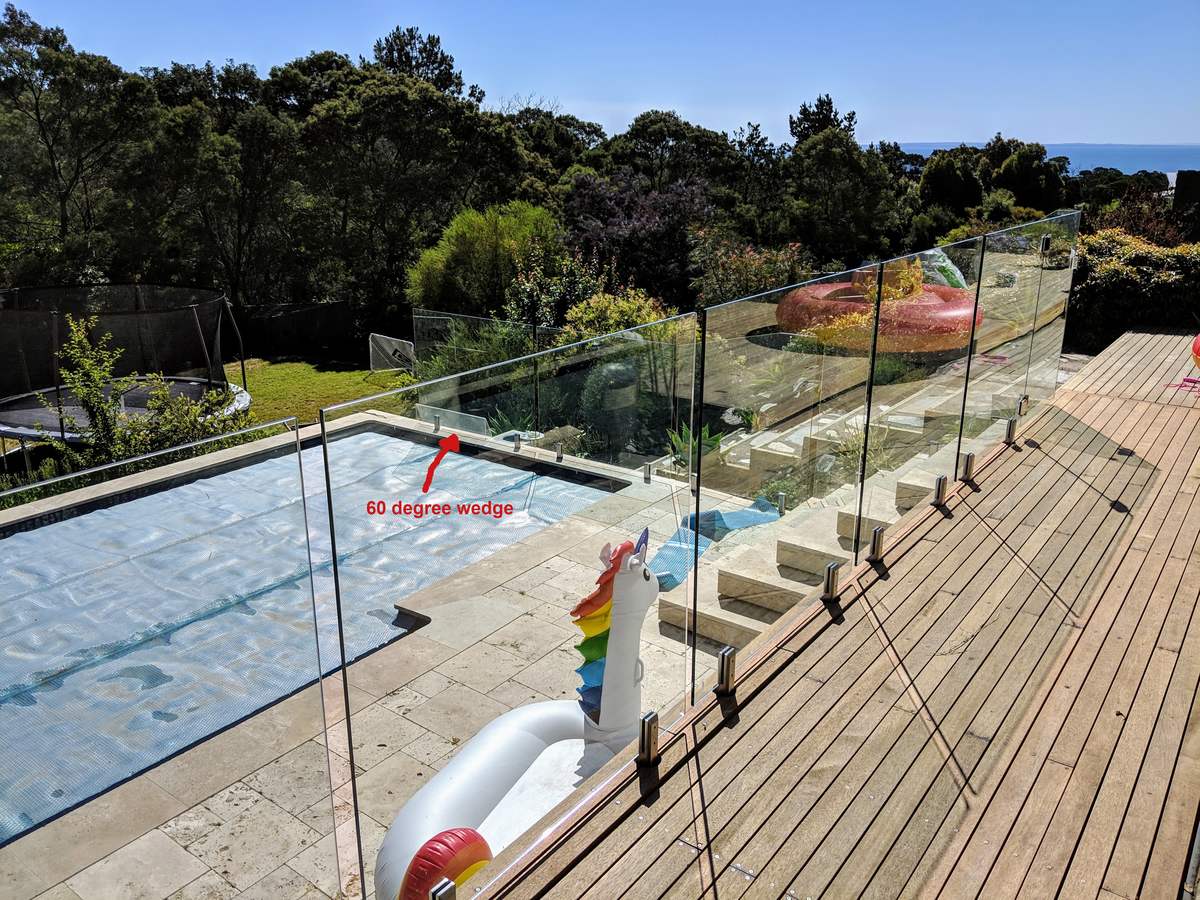
Regulations in these parts are quite strict with respect to pool fencing. Anything containing - or able to contain - 300mm of water or more must be fenced in accordance with a set of strict, but unfortunately somewhat ambiguous, standards. Even during construction, we had to ensure everything was fenced in accordance with the standards.
Design to avoid a “fenced-in” appearance
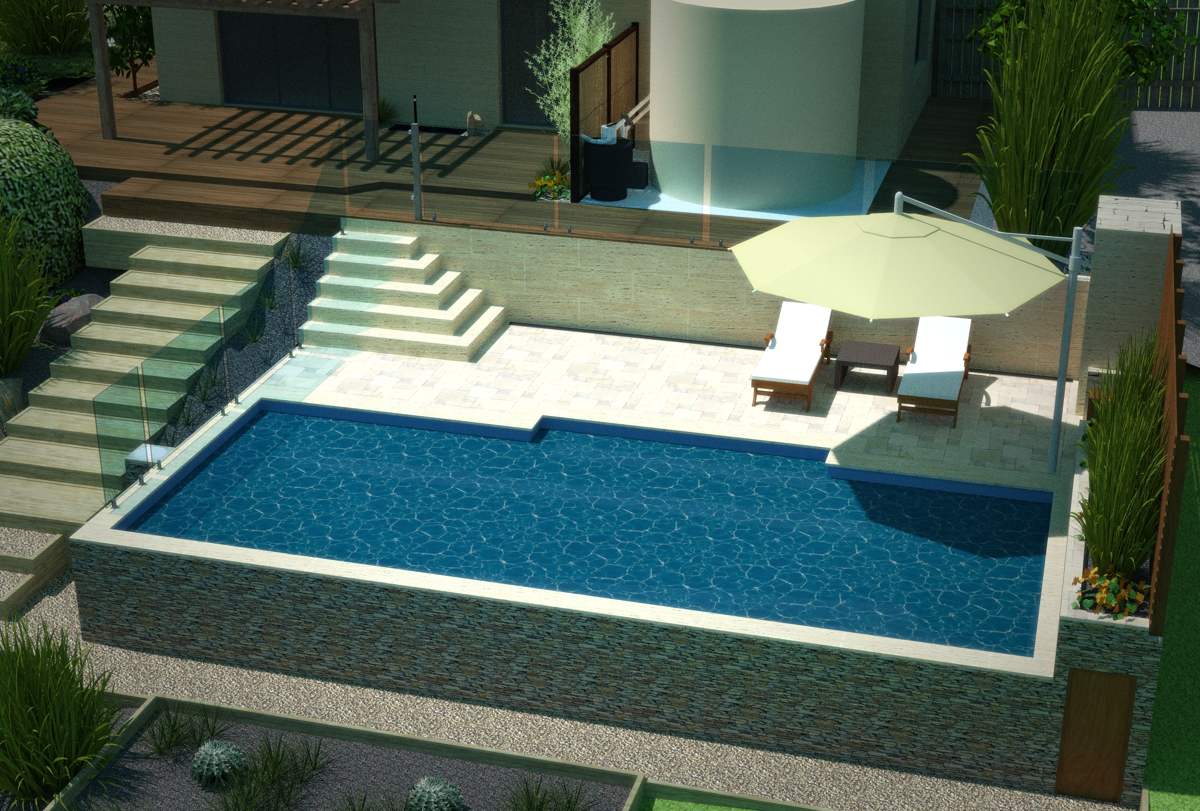
3D design for glass perimeter fencing
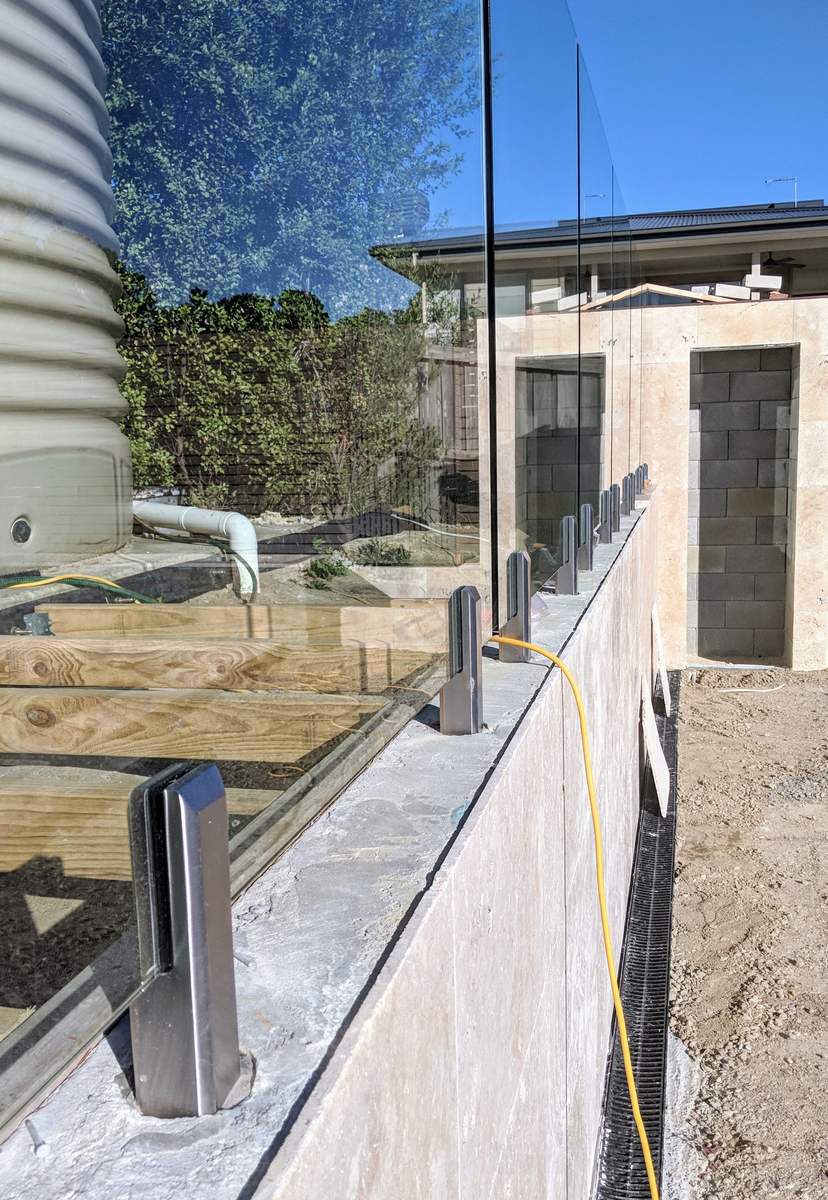
The key to a good fence design is to ensure that the fence doesn’t detract from the site or isolate the pool visually or practically. In designing the pool, we were careful to maintain adequate height of the lower retaining wall to ensure no additional fencing would be required atop the wall. The opposite, uphill side of the pool deck is cut about 1.2 meters into the slope. The fence that will sit on the edge of the decking above provides a natural railing and is visually pleasing.
With the flower bed end of the pool already fenced by the privacy fence, there is only one edge of the pool that would naturally remain unfenced (absent the regulations and safety concerns). Since the stairs descend down to the pool deck on this side, a balustrade would have been required here regardless.
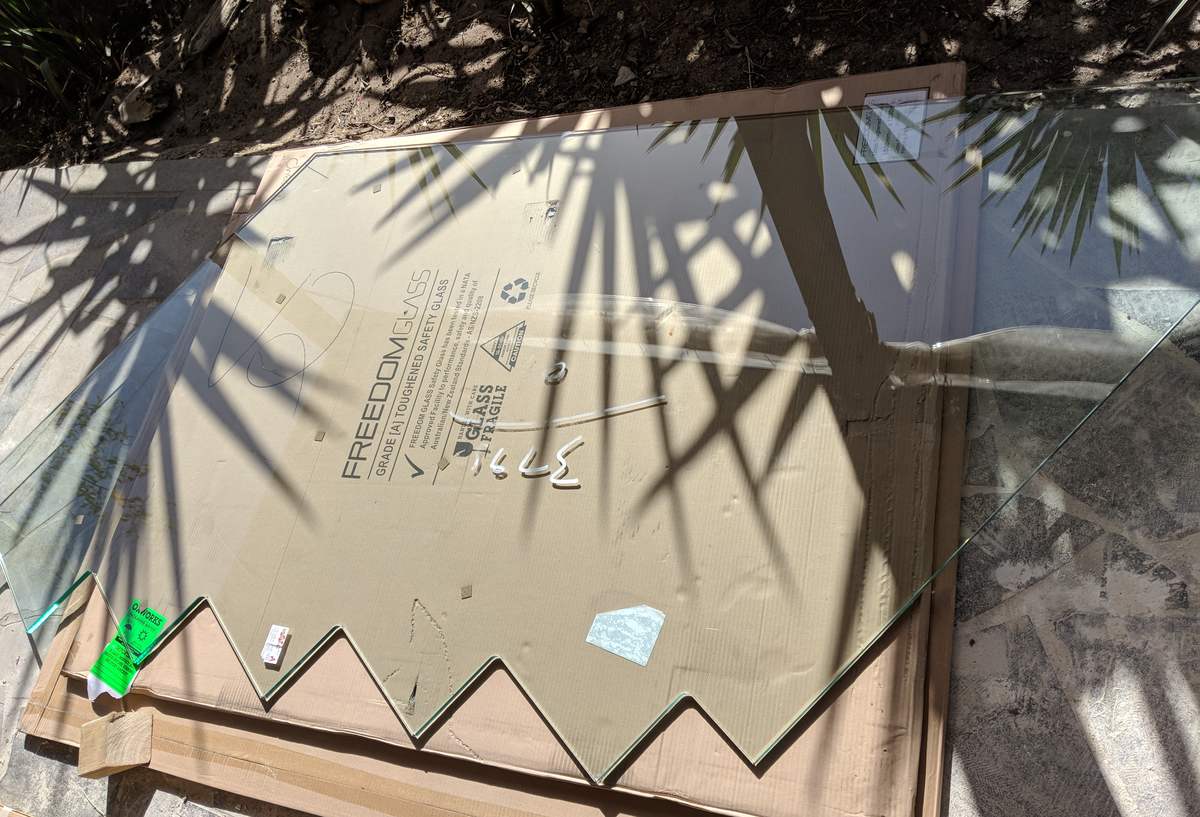
The end result is a pool, deck and fencing combination that looks natural and integrates well with the existing house and deck. Use of non-tinted glass panels for the fence fence itself means it is largely unnoticeable.
Construction
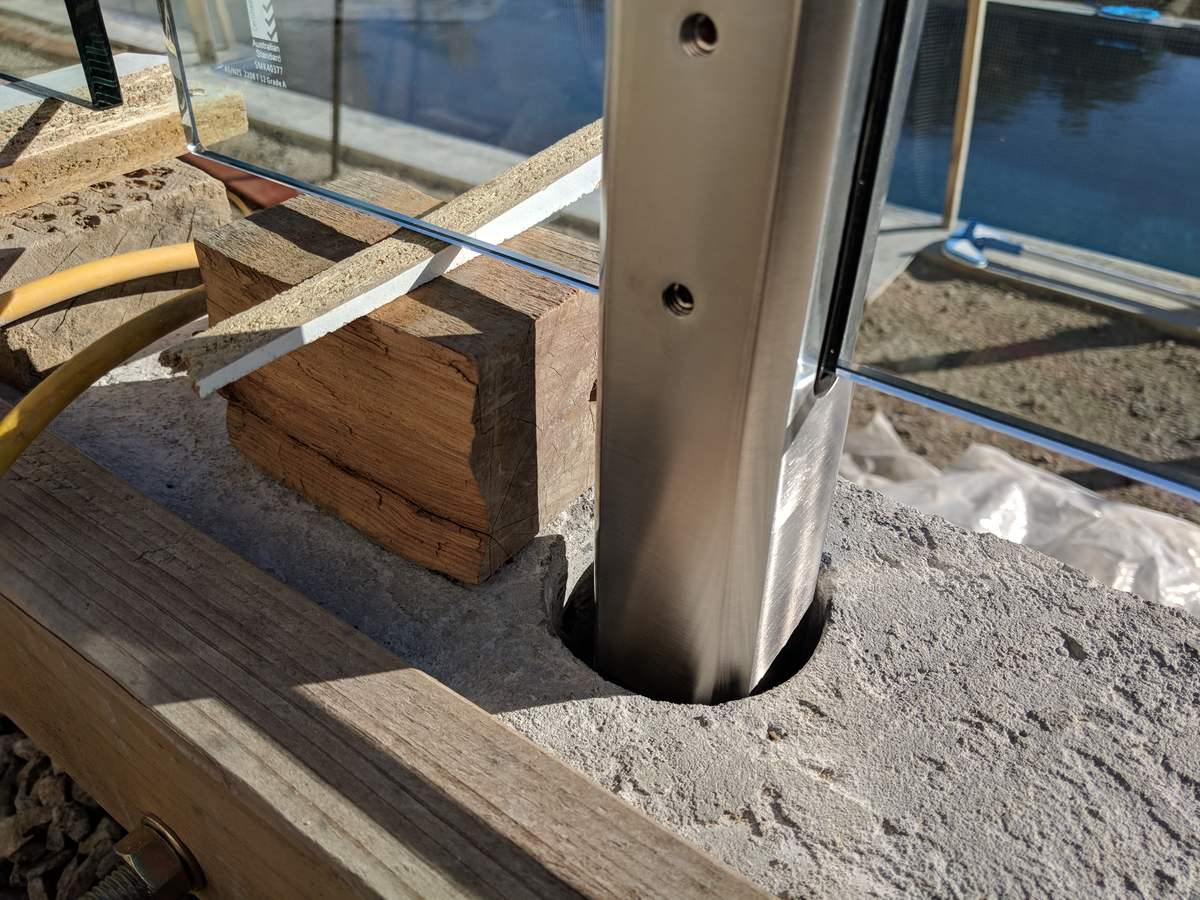
Glass fencing panels are held in place by vertical, stainless steel spigots that are attached to the base of each panel at one end and cemented into the ground at the other.
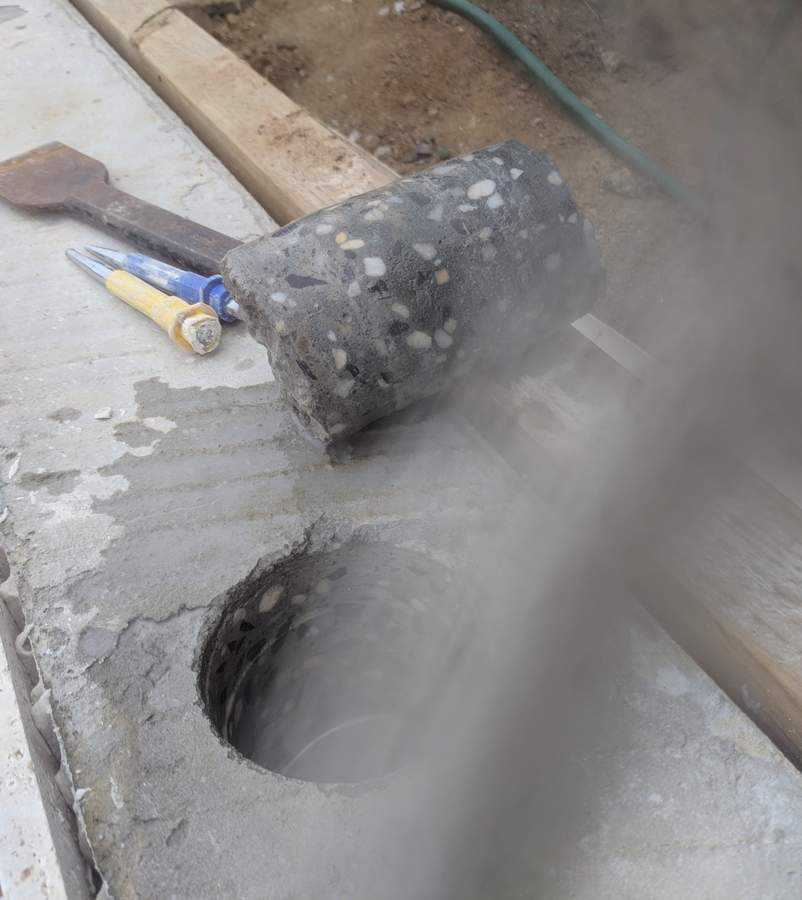
Since the ground/pool walls are already concreted, large cylindrical holes need to be drilled into the existing concrete, the spigots are placed inside at the correct position/angle, and the hole is filled with rapidly setting, cementitious, non-shrink grout (effectively high performance concrete without the aggregate).
It would be virtually impossible to grout the spigots in place at the correct angle and attach the panels after. To ensure accurate alignment, it’s necessary to first attach the spigots to the panels and then hold the panels in their final position using wooden blocks and braces.
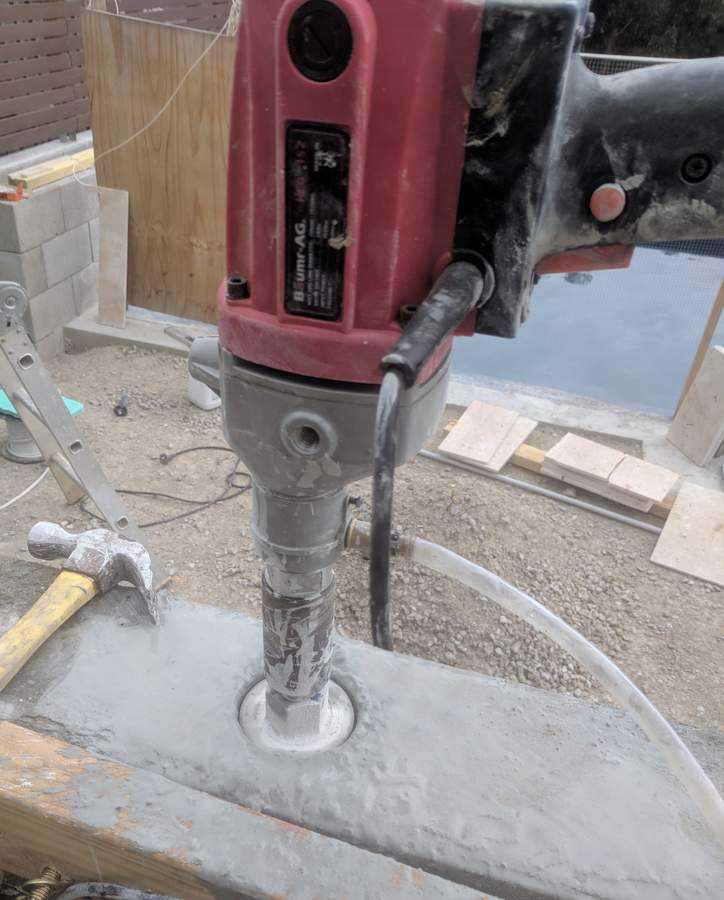
Before that can happen though, we need to drill some holes. And for that, we use a core drill.
Core drilling
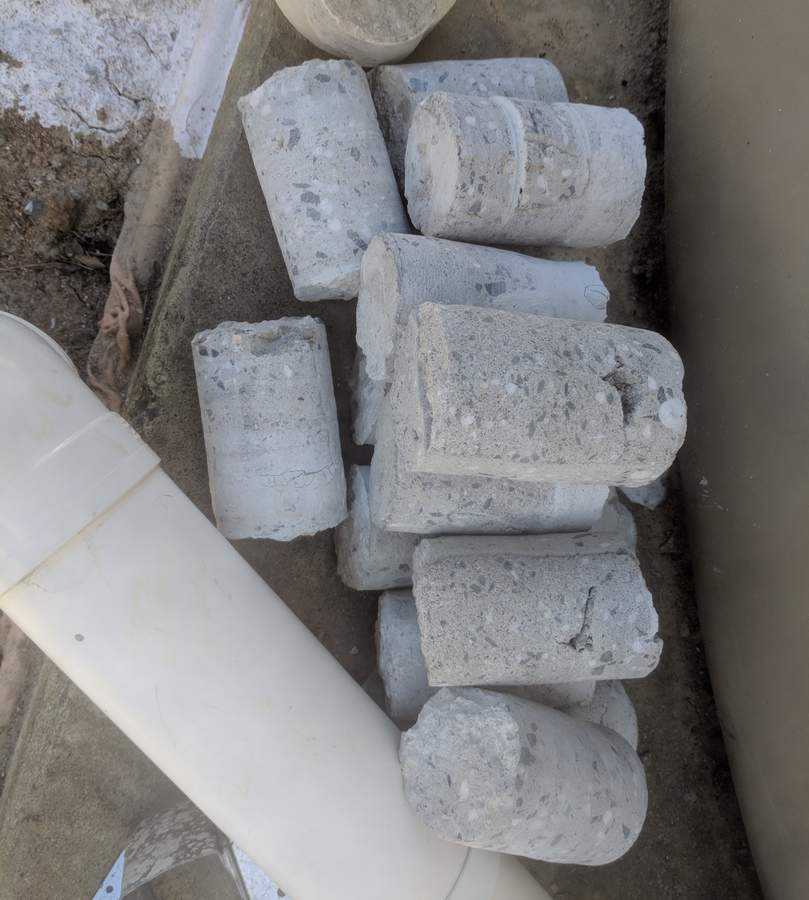
While regular drills are designed to drill holes by cutting directly into the hole, taking small chips at a time, core drills cut a hollow circle, removing a large cylinder of material in one piece. They are used when a large diameter, deep hole is required (e.g. our pool fence) or when the material being removed must be preserved (e.g. Antarctic ice core).
As with all things related to this pool, budget is key, and thus I secured the cheapest core drill I could find. A proper core drill for the task would cost about US$500-1000, mine cost about $125.
Core drills differ from regular drills in a few significant ways, but paramount amount these is having a safety clutch. A clutch is needed because when drilling a narrow ring deep into concrete, it’s very easy for the core bit to catch and become stuck if the drilling angle changes even a little. When this happens, the bit stops moving and the drill itself takes up the responsibility of spinning. With a clutch to disconnect the bit from the drill, broken arms and dislocated shoulders typically ensue.
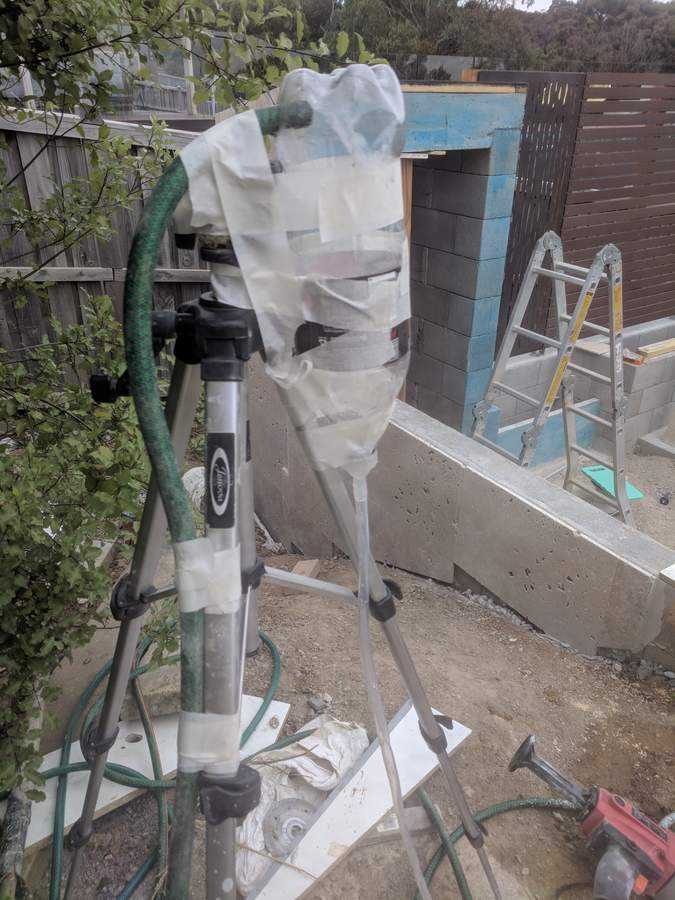
The water attachment that came with the drill was laughable and I was forced to construct an apparatus that looked like more like a hospital drip than drill cooling system.
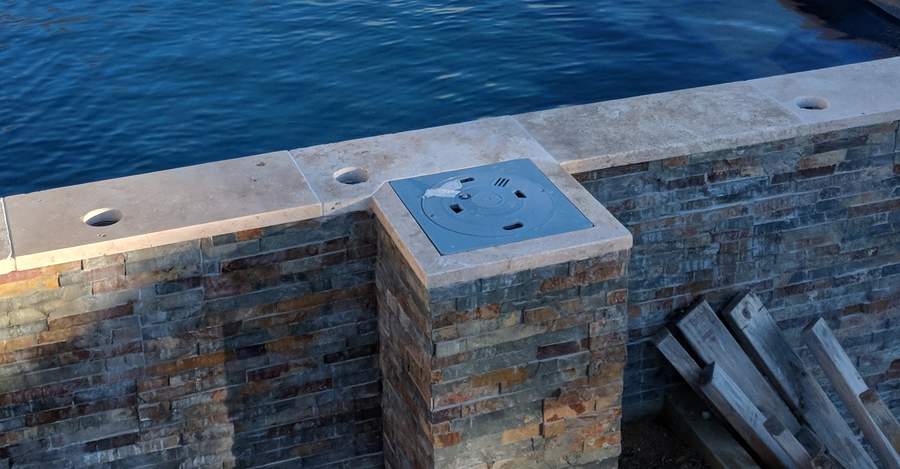
Wall cored out, ready for fencing

