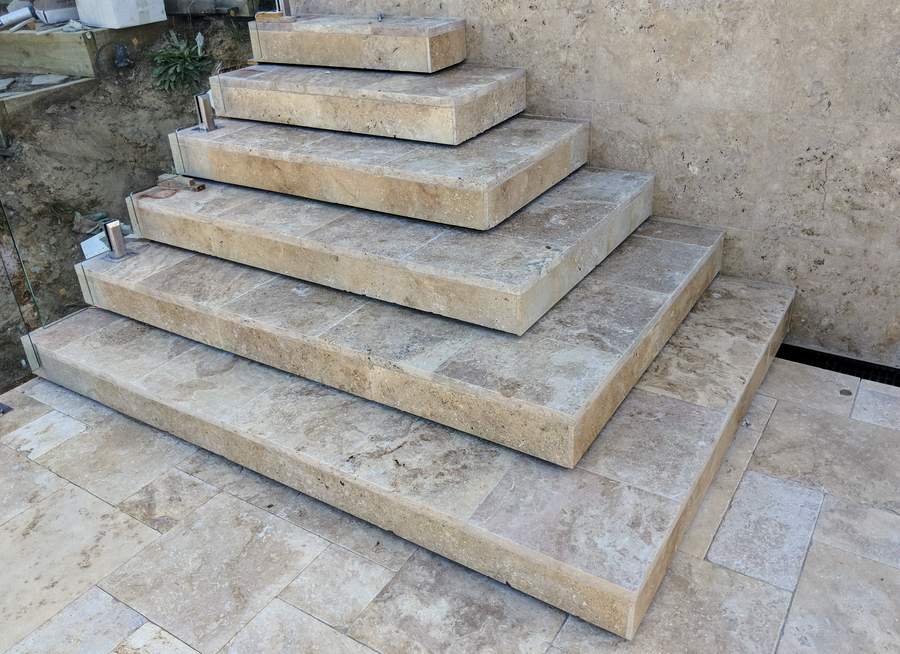
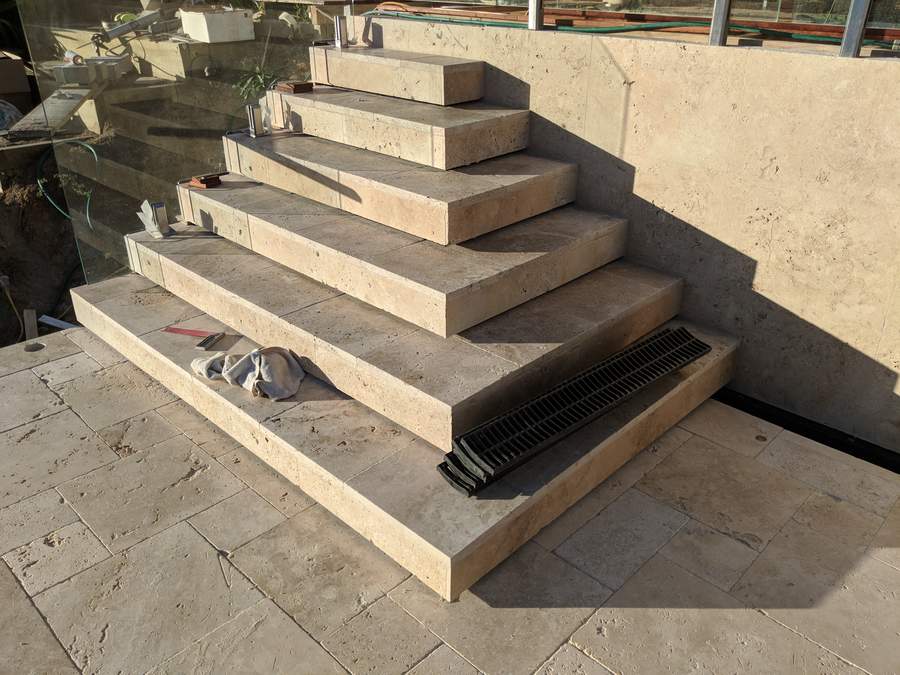
When I designed the pool, I placed the entrance in the corner nearest the main residence. The elevation of the pool deck at this point is 1200mm below that of the wooden deck above it, which is at the same level as the house. Stairs are thus required. Once through the gate I wanted the whole area to feel open and so designed the stairs to descend in both directions. The alternative of stairs descending towards the pool with a rail on the side would look quite awkward, creating a wall on the deck side of the stairs.
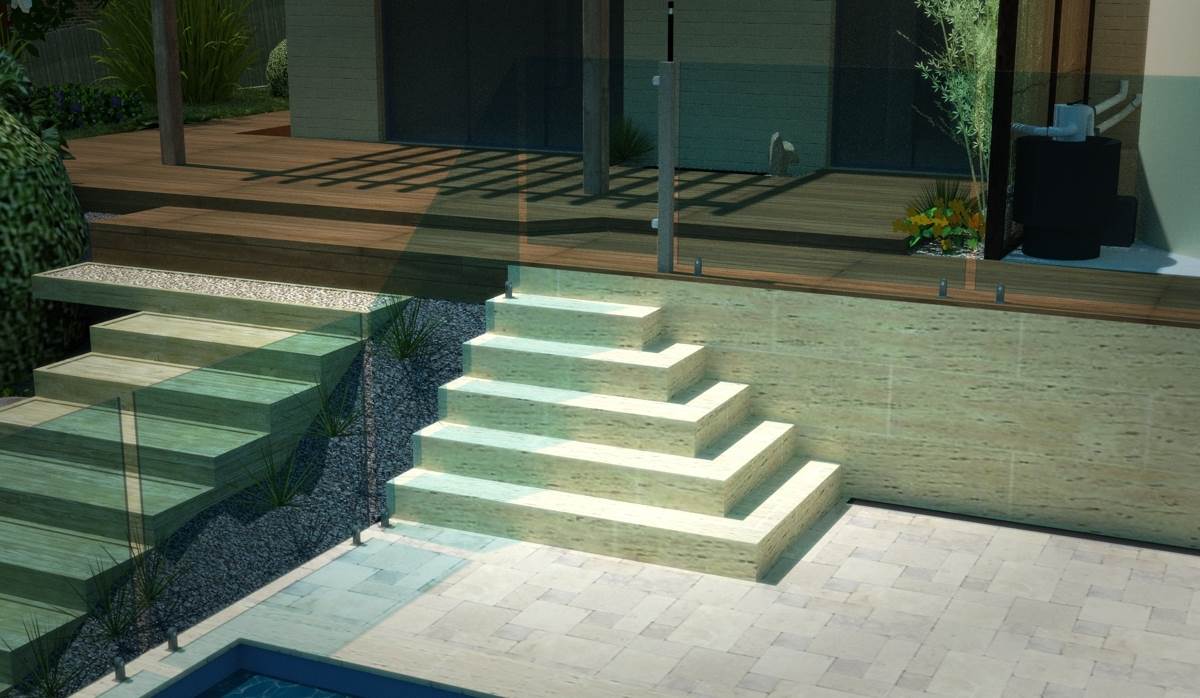
The design calls for stairs that extend in both directions from the corner entry.
Not content to do things simply, I was inspired by a set of floating concrete stairs I came across while investigating how to form concrete steps.
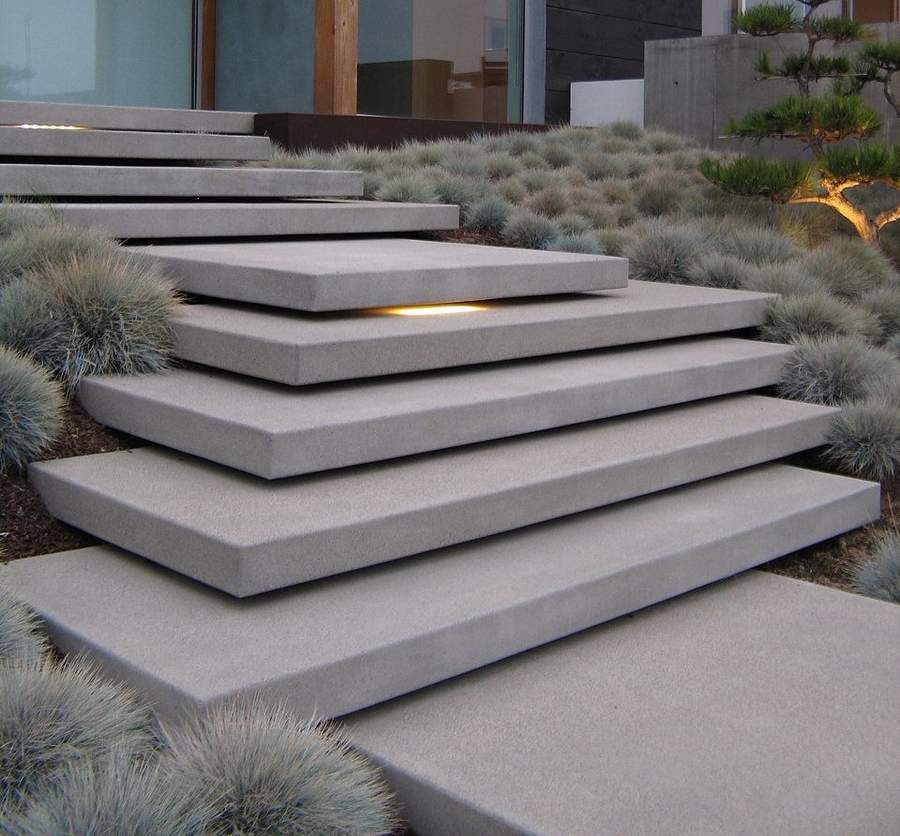
Floating effect concrete entry steps
Although our stairs won’t be cantilevered and will be covered in stone, I think the floating effect will still provide a pleasing effect and it also solves another problem - where to locate the lighting for each step.
Rise and run
The proportions of a set of stairs are defined by two parameters - their rise and their run.
The rise, run, and rise/run ratio all influence the ergonomics of a set of stairs.
There’s a relatively narrow range of values that produce a set of stairs that are comfortable and safe to use. Too high, too low, too short or too long all feel awkward and can be dangerous. The ratio of the rise to the run is also critical.
Most jurisdictions have regulations controlling these factors. In this part of the world, it’s per the below table:
| Min | Max | |
| Rise | 115 | 190 |
| Run | 240 | 355 |
| 2*Rise + Run | 550 | 700 |
Because these stairs are outside and not connected to the dwelling or approach, they actually aren’t subject to the code. Despite no legal requirement to comply, the constraints are designed for safety and we will be conforming to them. With 1200mm to climb, 7 steps gives us the following:
| Min | Max | Ours | |||||||||
| Rise | 115 | 190 | 171
| Run | 240 | 355 | 280
| 2*Rise + Run | 550 | 700 | 623
| |
Design is easier that construction
So after defining the dimensions of the stairs and deciding that we’d like the edges to “float”, the next step is to plan their construction.
If you read the earlier posts, you will be aware that I am not a builder, and have never undertaken any serious construction work prior to this project. It took some time to arrive at the chosen construction method. A lack of possible methods was not the issue. Rather with several possible methods available, I was unsure as to which would be cheapest and fastest.
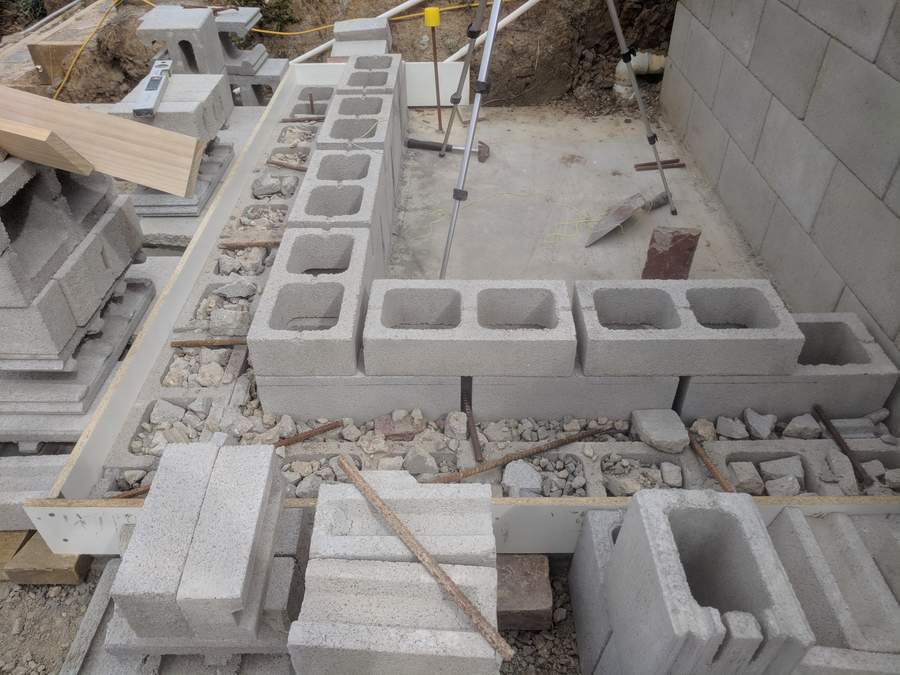
When we poured the bond beam, I also made a slab for the stairs. It’s connected to the rear retaining wall footing via rebar that was put in place during the footing pour and to the side pool retaining wall via the bond beam, which continues all the way to the rear retaining wall and which forms the edge of the stair slab:
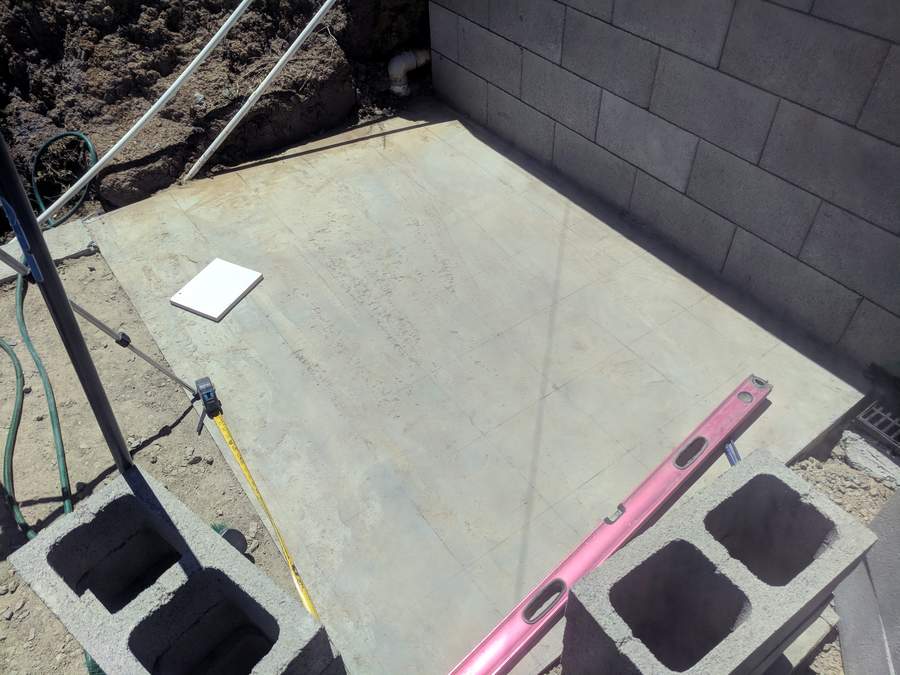
2150 x 1500mm slab for the stair construction.
After due research and consideration I concluded that were two possible way to build the stairs:
- Build formwork for the complete stairs and pour them monolithically, with the stairs connected to the ground at the lowest step and the wall at the highest step, but otherwise self-supporting (i.e. full of steel) and hollow beneath.
- Build the stairs directly on the ground by building up the ground level with the appropriate material and pouring the steps on top.
The second option is how you’d normally build the two or three steps that lead up to a porch or entry door, whereas the first option is how a typical full set of concrete stairs inside a building would be constructed. At some number of steps, the first option becomes the clearer method, but with only 1200mm to rise, no reusable forms, and no experience constructing that sort of formwork, option two was the more appropriate choice in this instance.
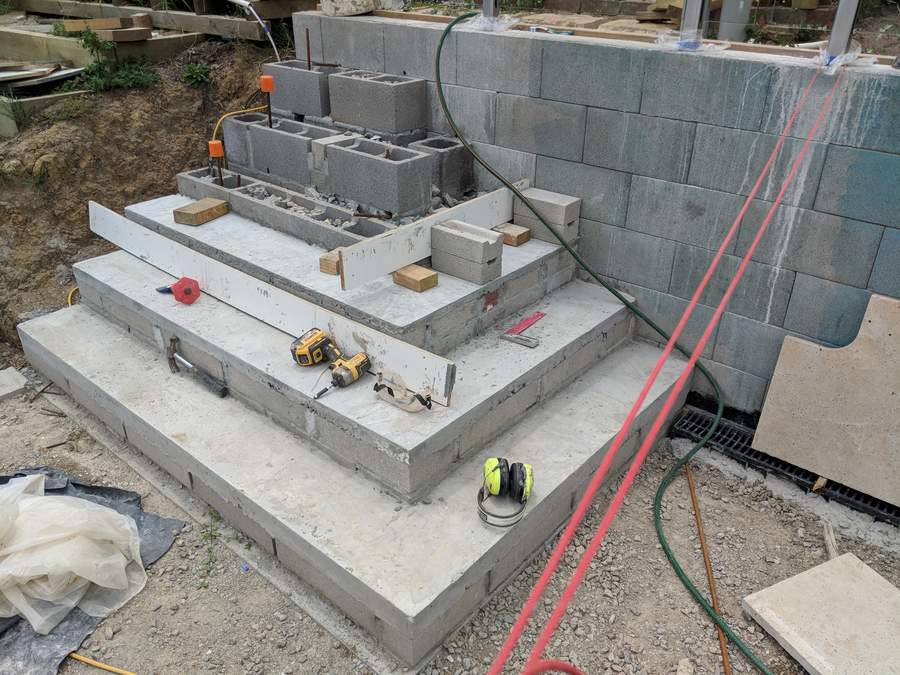
To build the ground level up, I chose to use a combination of full and half height blocks (AKA cinder blocks, besser blocks, concrete masonry units…). The idea was to use a combination of blocks that brought the step height to within 50mm or so of the finished height (excluding the stone treads), fill them with gravel/crushed waste concrete, and then finish with fresh concrete.
Once the stairs are completed, I’ll be installing a glass fence down the side of the stairs and pool. The glass is held in place by stainless steel spigots, which are grouted into the concrete. To provide support for these spigots, I chemically anchored several pieces of N12 rebar into the slab prior to beginning construction. These pieces rise to nearly the full height of each finished step, and are augmented by horizontal rebar and mesh.
Creating the floating effect
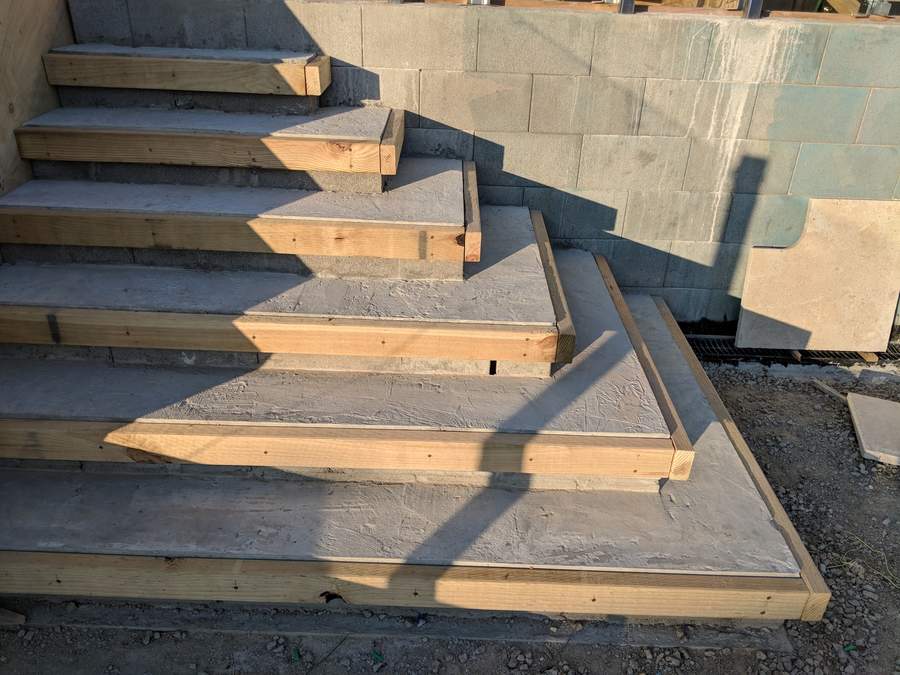
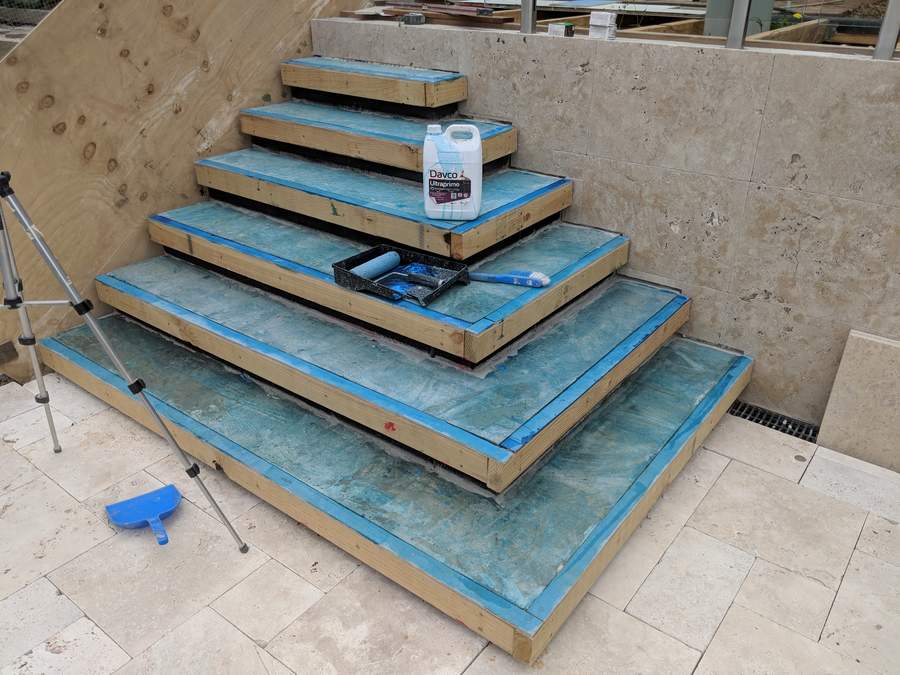
I could have created the floating effect by directly forming, but this would have made the formwork much more complex, and so I chose instead to mount wood on the step face to create the overhang. Combining wood with the concrete substrate will likely lead to some differential movement, but given the 30mm treads being used, this won’t present a problem except for some likely minor cracking in the grout join below the tread.
Making it all pretty
With the substrate fully prepared, it was time to lay the tiles. For the treads, we’re using the same 30mm ivory travertine used for the pool coping, and using a 12mm version for the stair faces.
As always, cutting the tiles was a tremendous hassle. Despite producing results that I am pleased with, I have no envy and much commiseration for the life of a stonemason. The treads were first to go down, followed by the face tiles.
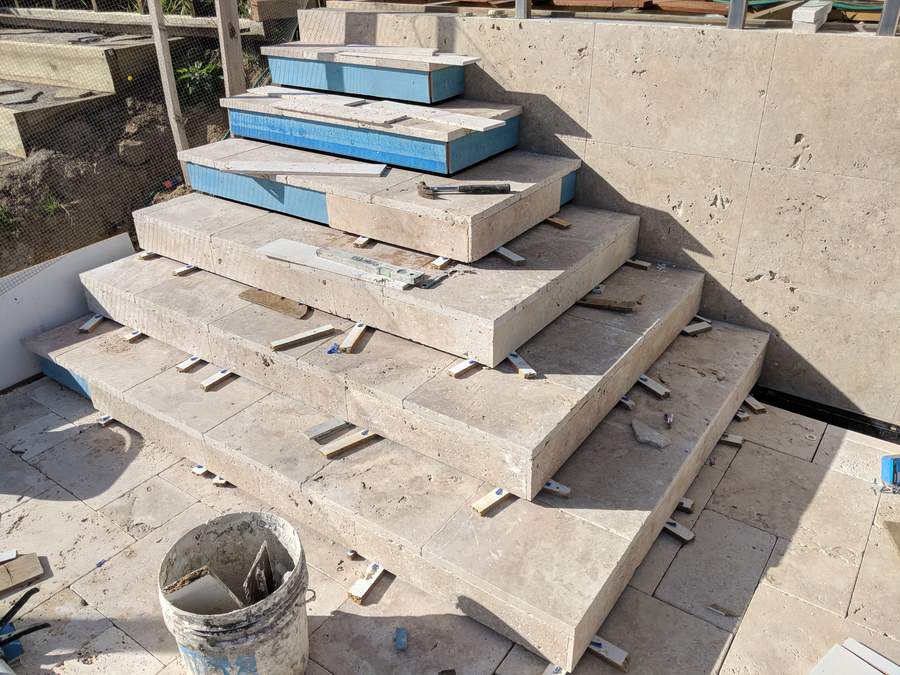
Completed stair treads and partially completed face tiles.
Once the treads and face tiles were completed, the gaps were grouted and - aside from the lighting - the stairs were complete.

