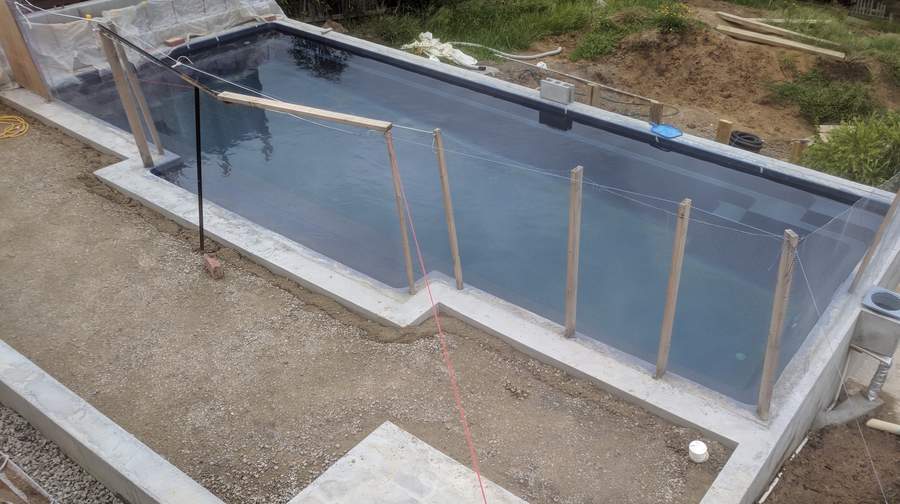
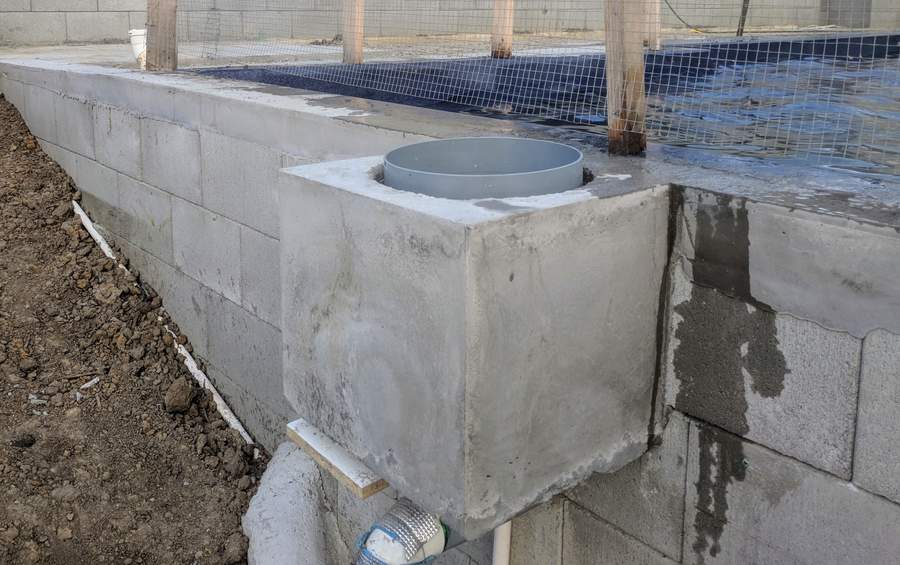
A beam of concrete around 200mm thick is typically poured on the ground around the edge of the shell, locking it into place. Something like this:
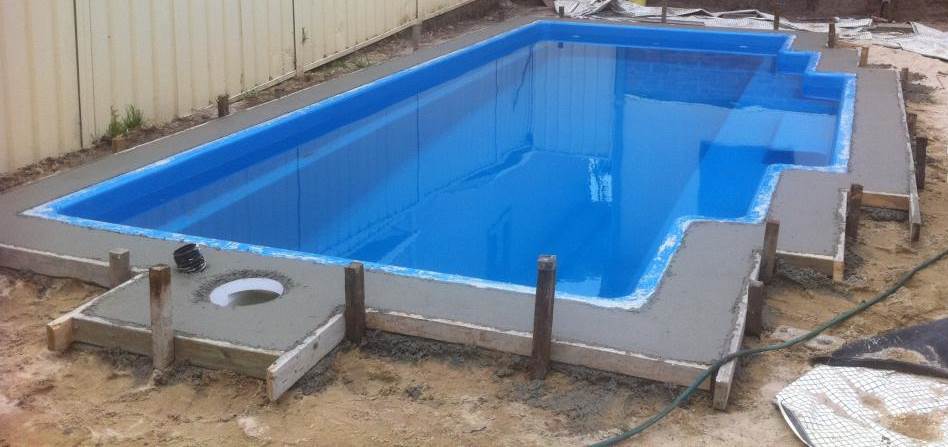
Typical fibreglass pool concrete bond beam locking the shell in place
Our design is somewhat unusual for a fibreglass pool, in that three sides of the pool are well above ground level. A pool on a site such as ours would typically be made of concrete, but we are using a fibgreglass shell for warmth reasons, as we’re in a temperate climate where the average ground temperature is quite low.
Instead of pouring a beam on the ground, we need a beam to connect the shell to the retaining walls. Ideally this beam and the walls would have been constructed at the same time, but this was not possible as the gap between the wall and shell needed to be filled with crushed rock first (as the pool was filled with water).
Non trivial formwork
Working out exactly how to pour the bond beam proved a little tricky. We’re using core filled blocks rather than a poured wall. This is primarily because I’ve never built the formwork for a large (or small) wall (or anything that is not a wall either), but also because the forms themselves would be too expensive and wasteful for a one-time use and near impossible to remove given their position relative to the fibreglass shell.
One issue with using blocks is that they stack in 200mm increments, whereas we need the top of the wall (ex-beam) to be at a specific height. Too low and we’re filling with expensive concrete where we could have used crushed rock. Too high and the bond beam is too shallow (not to mention the difficulty of ensuring the poured concrete makes it way completely under the shell coping).
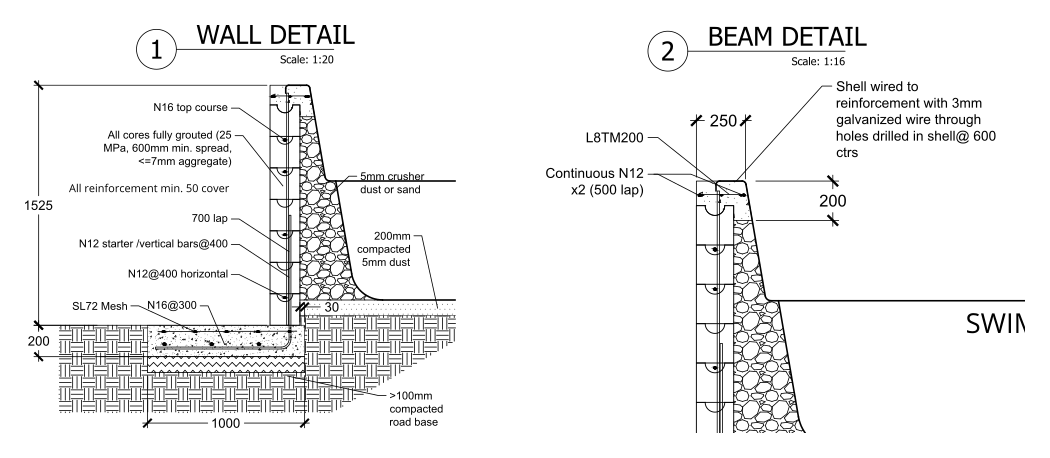
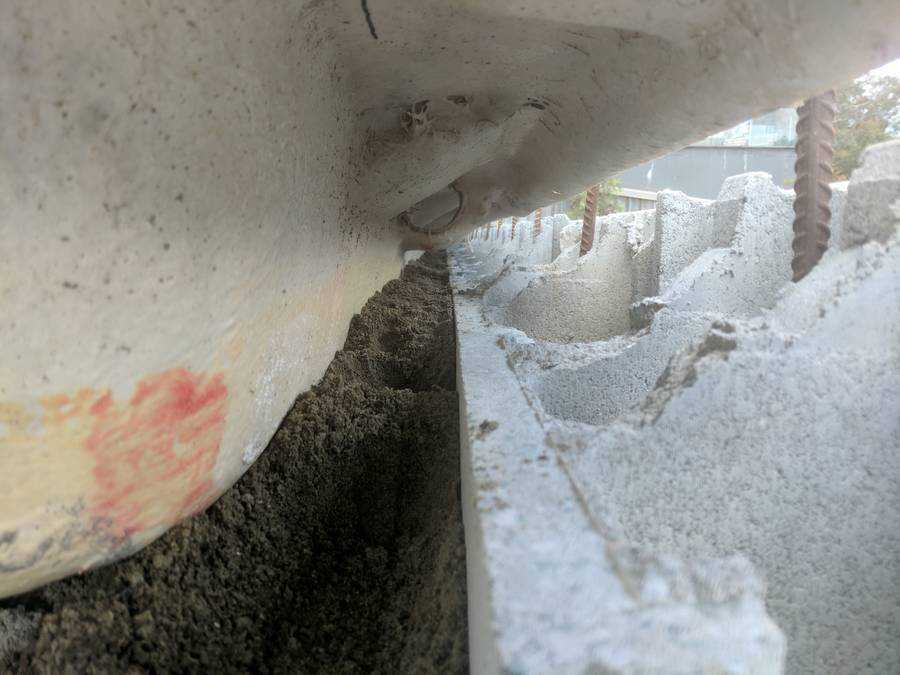
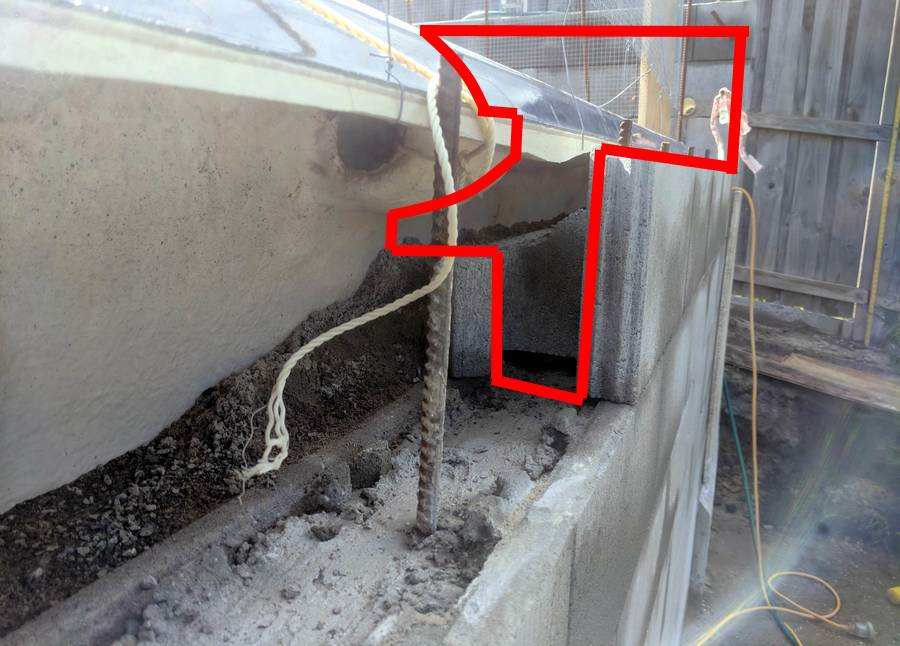
To keep the bond beam thickness manageable while still ensuring adequate space for the concrete to flow under the shell edge, we cut off the top half of the inside edge of the top course of blocks as shown below:
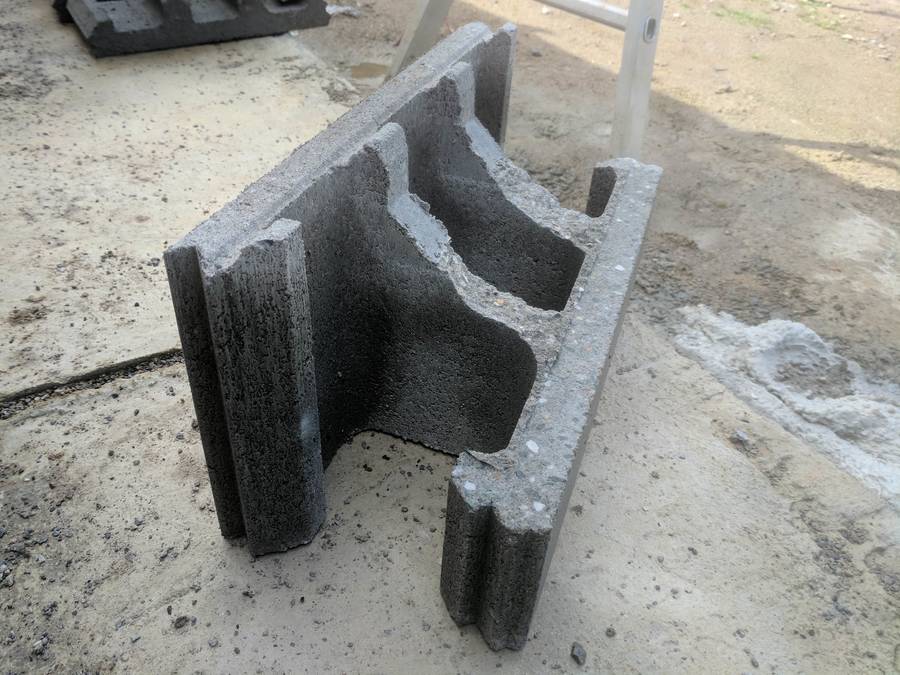
Inside edge of block sliced off with diamond cutting disc
This allowed us to backfill to an appropriate height and still provide sufficient room for the beam itself.
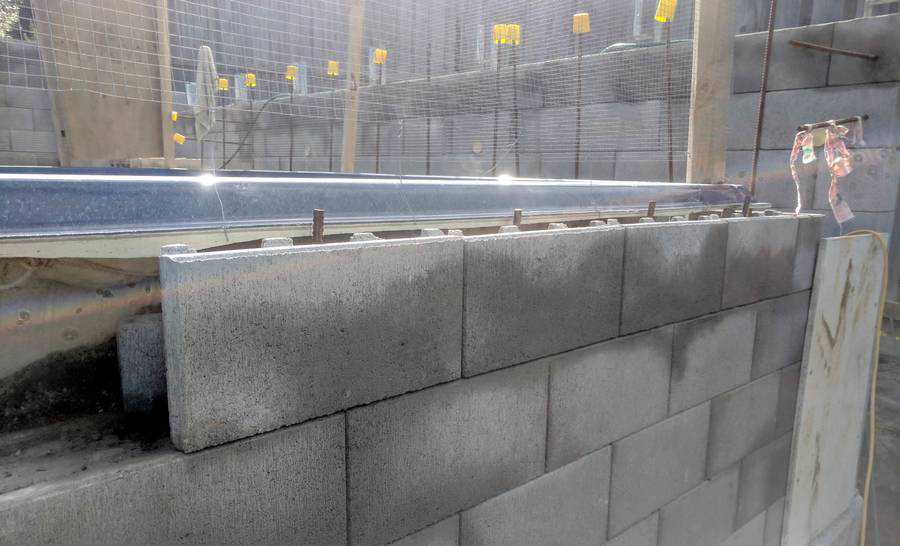
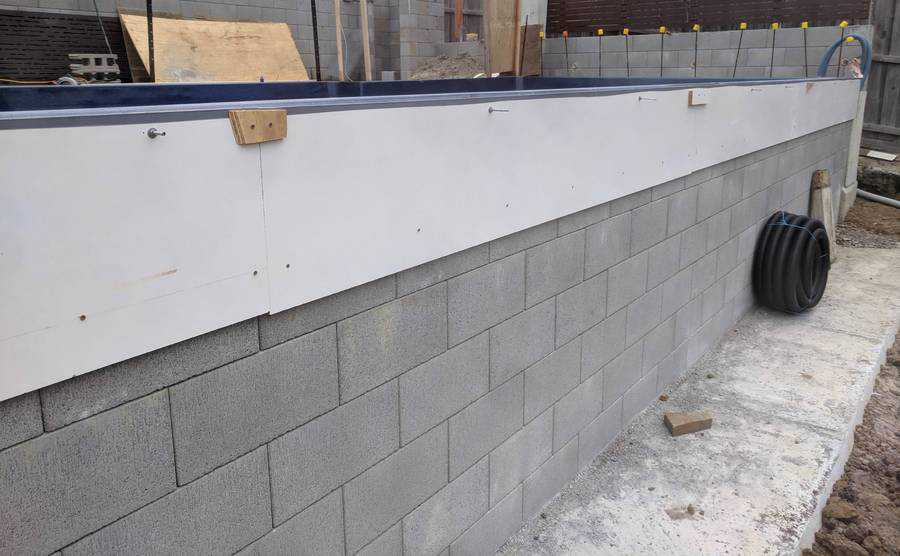
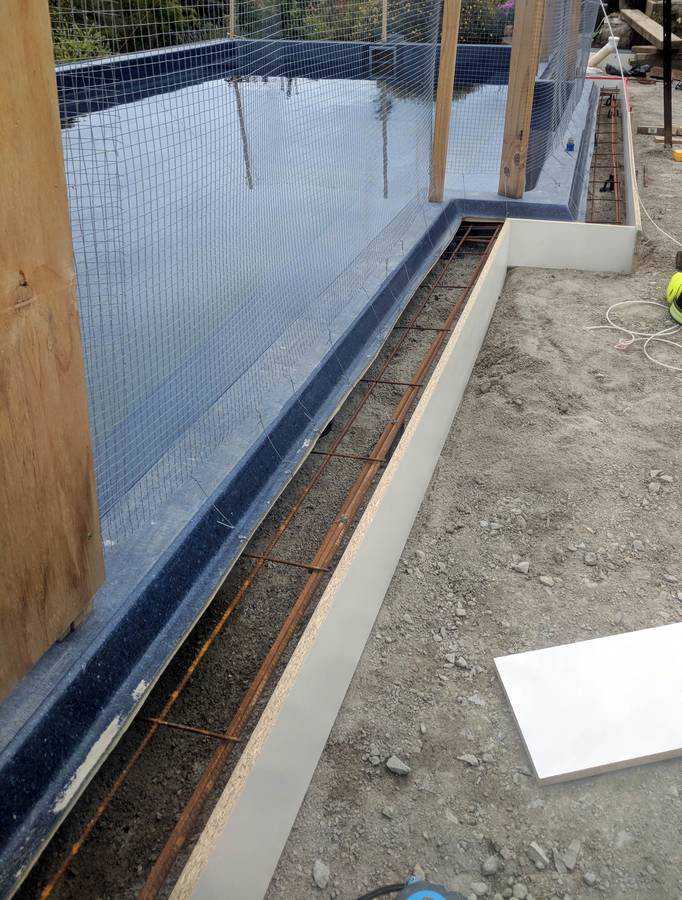
That still left the question of how to form (i.e. mold) the beam above the top course. As with the footing forms, the answer was cheap melamine chipboard. I attached the melamine boards to the second top course (since the top course wasn’t yet core filled) using masonry wall plugs and attached the top to the pool shell using M6 threaded bar as can be seen below:
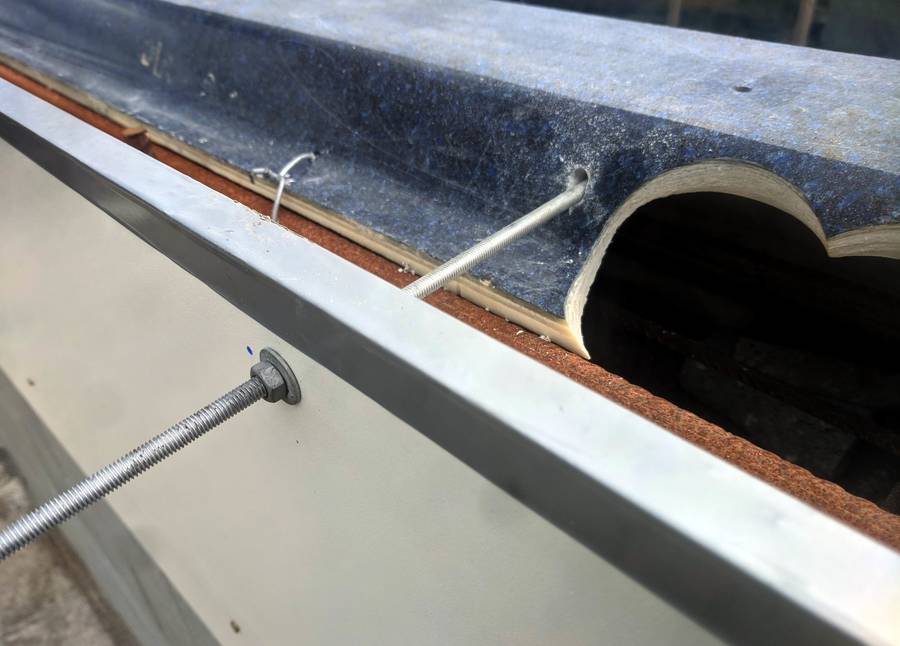
M6 threaded bar holding the top edge of the form in position.
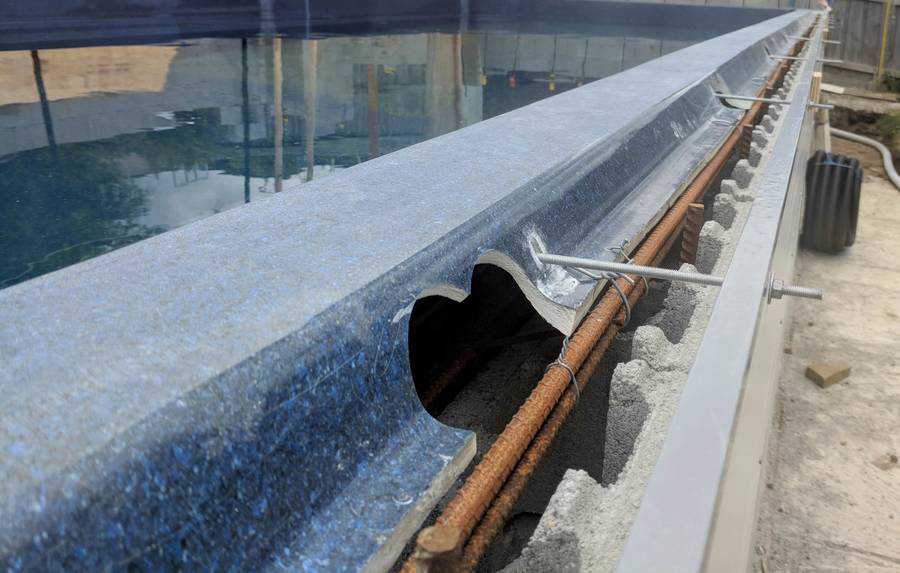
The addition of 2 N12 bars and L8TM200 trench mesh around the entire perimeter and wiring of it to the existing wall vertical bars/shell completed the preparations for the concrete.
Non-trivial volume estimation
When ordering concrete from a ready mix supplier, it’s crucial to know how much you need. If you over-order, not only do you waste money buying concrete you didn’t need, but the supplier will charge you more to take it back.
Estimating the volume of concrete required for our bond beam would tax even Archimedes. Not only is does the thickness of the beam vary continuously over it’s length (the surface of the crushed rock fill forms the bottom of the beam on the inside), but the width is different on every side, the top course of blocks is cut at varying heights, the inside edge is not vertical (as the pool shell wall is not vertical) and the volume of the pool shell itself must be subtracted, which includes various protrusions such as the lift points shown below.
The cross sectional area of the beam varies continuously all the way around the perimeter
Breaking the volume into various regular shapes and summing the pieces gave an estimated volume of 1.90 m3 for the beam.
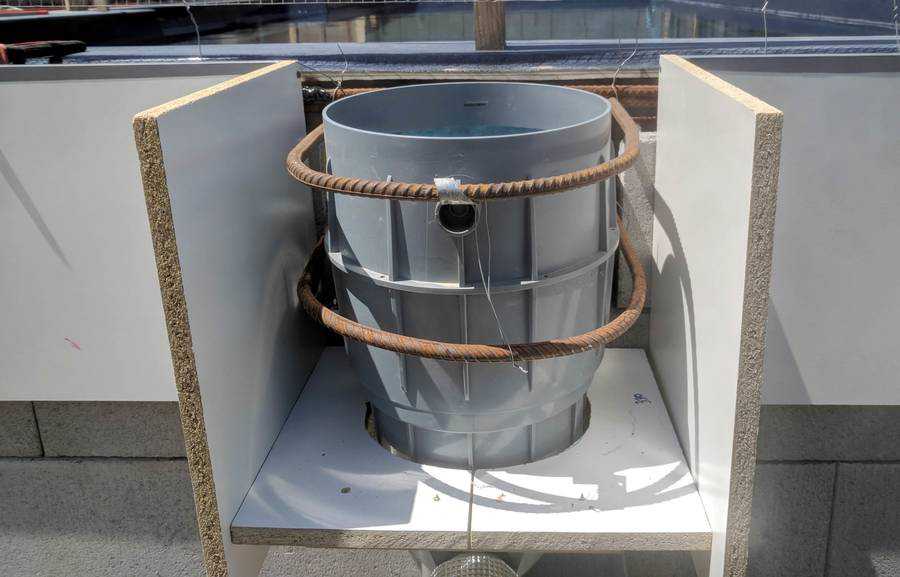
In addition to the bond beam, we also needed concrete for block work for the storage cupboard that will sit on the edge of the pool deck (0.18m3), as well as several post holes that had been dug for wooden posts that will retain a vegetable garden just below the pool (0.12 m3).
So 2.21 m3. in total. Accounting for some loss in the pump lines etc., I ordered 2.3 m3.
An excess of concrete
So it turned out although the volume estimation was quite accurate, we still ended up with way too much concrete. The problem was that I failed to get the cupboard ready to fill in time. Because of the disjointed nature of the cupboard walls, it required some formwork to be built to join the walls prior to being able to fill it and there wasn’t enough time (or wood) to get these forms in place prior to pouring the beam.
After pouring the beam and filling the post holes, we were left with what I estimate to be a little under a quarter of a cubic meter. That might not sound like a lot, but it’s equivalent to a 200 x 200mm beam 6.25 metres long. The only remotely suitable place for it was on top of the existing stepped footings on the west side, since this area is yet to be backfilled with soil. Thankfully it will be, as it now resembles the pockmarked surface of the moon.
Woo hoo! No more concreting - mostly
This was the last major concreting job after the footings and block fill. Most importantly, it’s the last time we’ll be using a concrete line pump and the last time dealing with the mess that it entails.
With the beam complete, all structural elements of the project are complete. Now we just need to make it look pretty.
