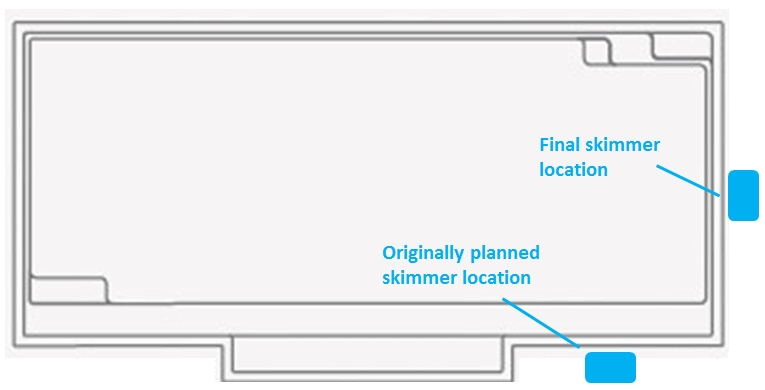
The original plan called for placing the skimmer on the deck side of the pool, simplifying the pipework and avoiding any interference with the retaining walls on the other sides. This also would have simplified the bond beam concreting for the skimmer, with the ground providing natural formwork.

The originally planned skimmer location was set to simplify installation.
Unfortunately due to a mix up with the manufacturer, the hole for the skimmer was placed in the middle of the deep end wall, which is around 1.5 metres above ground level. It also means the pipe to the skimmer will need to pass through the retaining wall.
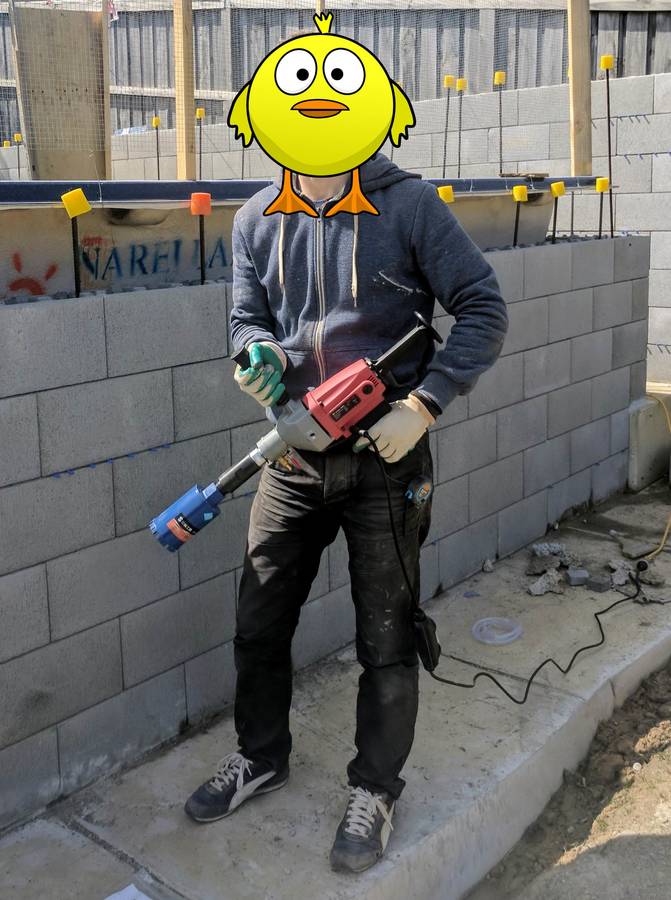
Fortunately, I have just the right tool for that:
70mm core drill will punch holes through the concrete wall without breaking my wrist.
I bought this drill for the glass fence installation, but it will happily make a hole for the skimmer pipe. A core drill works similarly to a powerful regular drill (albeit with lower RPM) with one important difference - it has a clutch. Core drill bits have a tendency to catch, and if your drill doesn’t have a clutch, it’s likely to start spinning like the coyote in a Road Runner cartoon, taking your hand/wrist/shoulder with it.

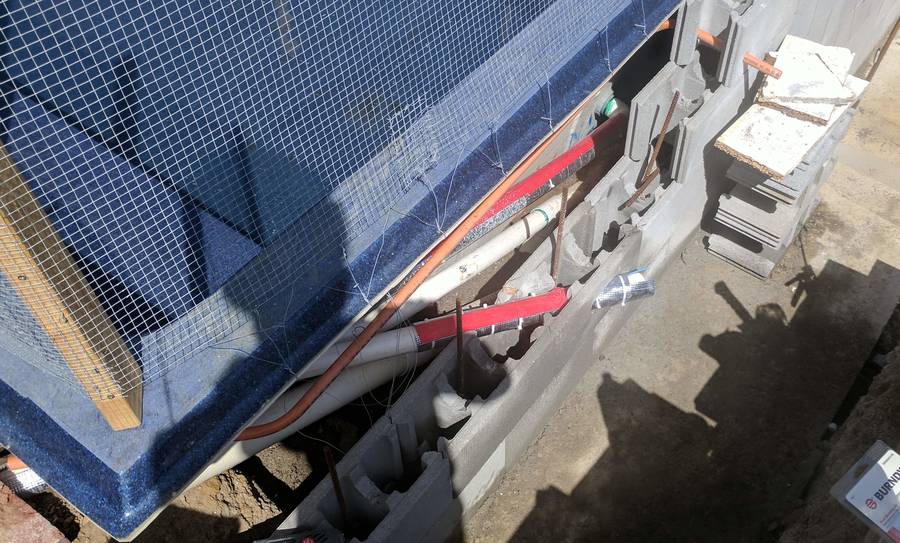
Skimmer pipe passing through the retaining wall.
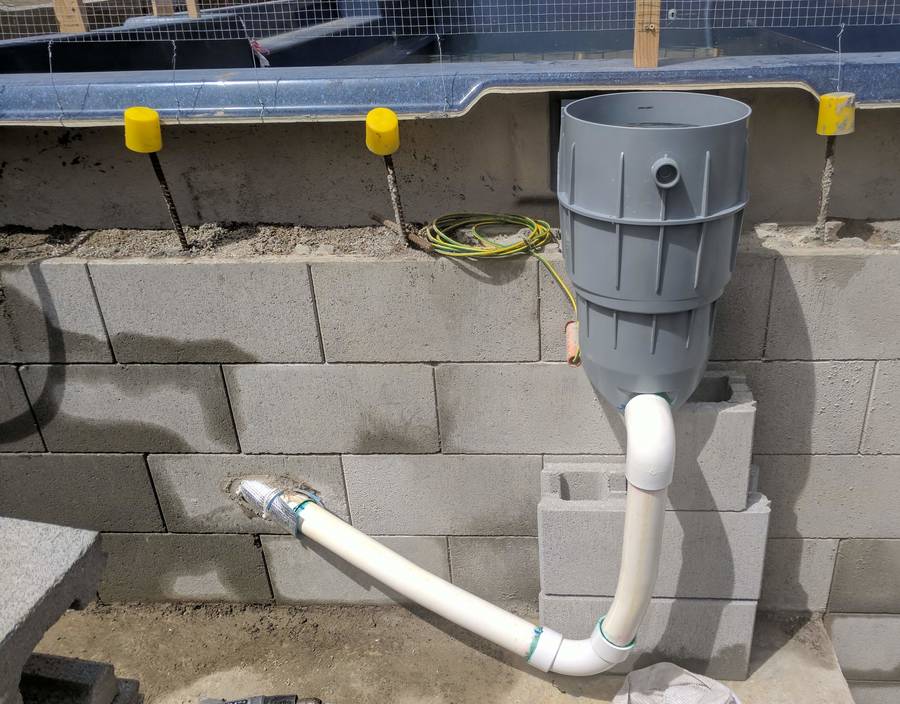
With the pipe in place, the skimmer is attached to the pool with several screws through holes drilled in the shell and a boatload of silicone. To avoid undue strain on the pool shell prior to putting the concrete bond beam in place, I supported the skimmer with a stack of several bricks.
Getting the pipes connected involved some extended heat bending of the PVC pressure pipe to match the ends up.

Completed skimmer installation.
With the skimmer in place, we can begin to put the final course of blocks in place and build the formwork for the bond beam.


