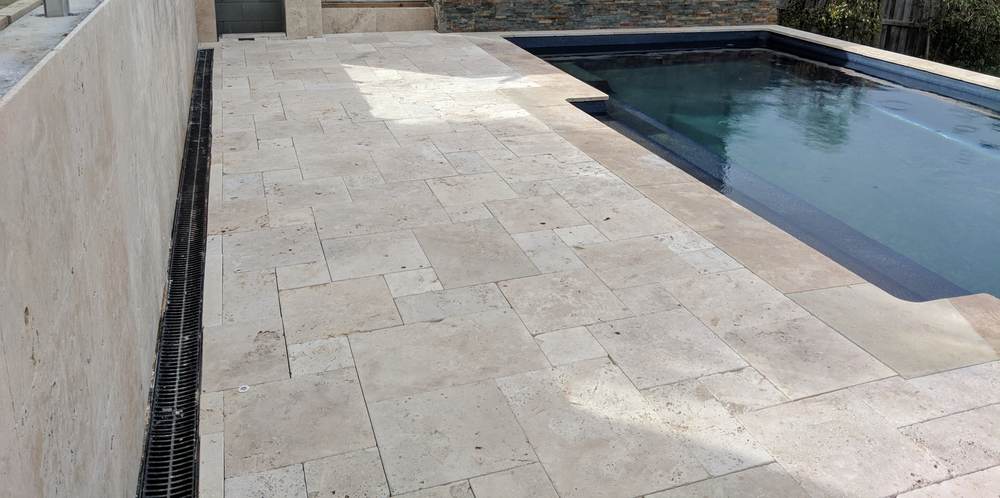
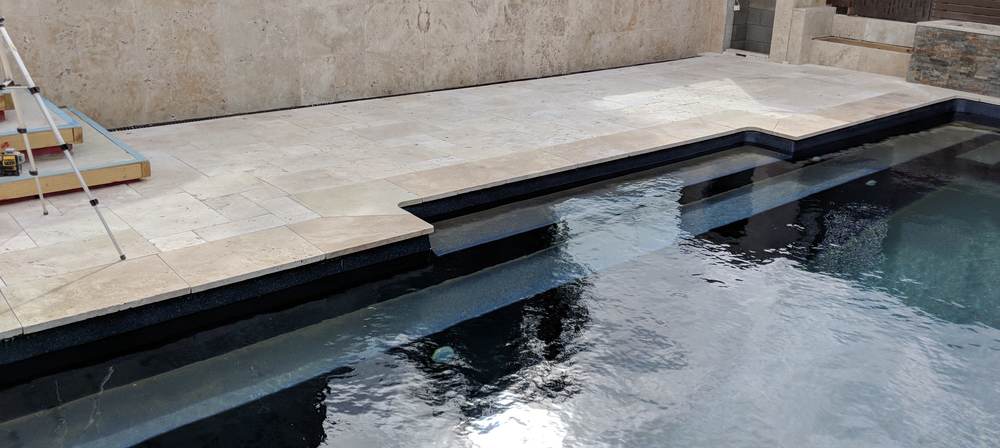
Per the tiling post, the pool deck is being paved with the same ivory travertine used for the pool coping and the rear wall. The pattern will be quite different though.
From Versaille to the pool deck
We’re using a 4-tile repeating pattern commonly referred to as the French pattern or Versaille pattern (popular references cite the origin of the pattern as the Palace of Versaille).
The pattern uses two square tiles and two rectangular tiles with the following size ratios:
Tile size ratios for the French pattern
Twice as many square tiles as rectangular tiles are used and are placed in the following pattern:
The French pattern uses twice as many square tiles are rectangular and places them in this repeating pattern.
Preparing the substrate
The pool deck travertine is 30mm thick (i.e. pavers) because we will be dry laying them. This means that they will be laid on a bed of compacted sand rather than a hard concrete substrate, and thus need to be thicker (vs. the 12mm wall tiles) to minimize the risk of cracking.
To ensure a stable surface, we need an initial layer of compacted roadbase atop the undisturbed earth, followed by compacted sand, and then the stone itself. Preparing the roadbase is just a matter of laying it out and using a plate compactor as we did for the footings. Although the roadbase provides a rock hard substrate for the pavers, we need a surface that is perfectly even to lay them on top of. That’s where the sand comes in. The sand can be well compacted, while still allowing it to be screeded to give an even surface.
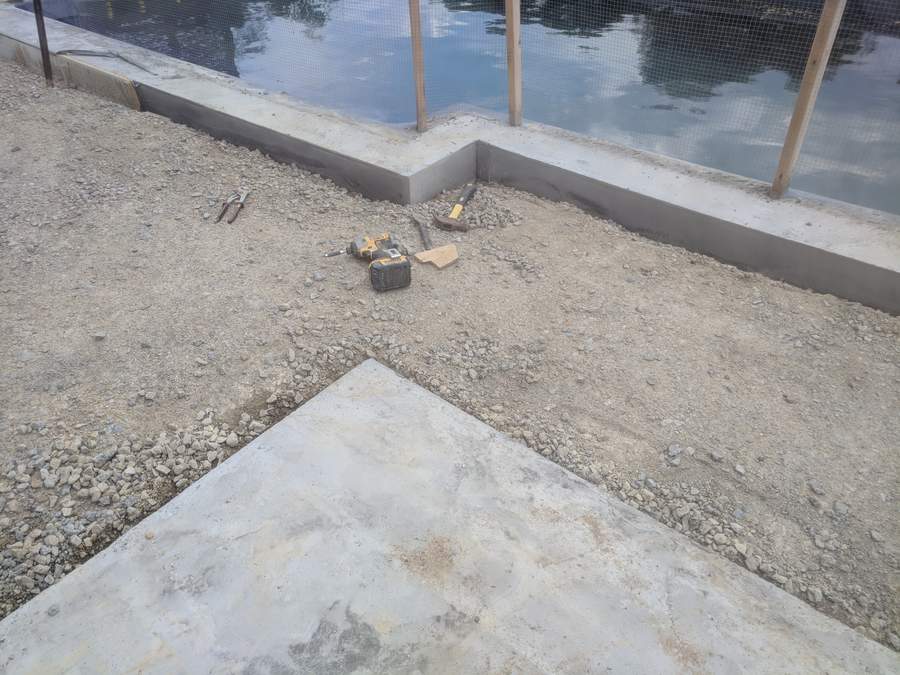
compacted roadbase ready for the sand.
Sand is not sand
Opinions differ as to what type of sand should sit under pavers. Many recommend concrete sand, with it’s sharp interlocking particles. Packing sand (fine sand with a high clay content) is also used.
Side-note
Not all sand is suitable for concrete making. The grains should have sharp and irregular edges to assist them in locking together, increasing strength. Desert sand grains are typically too rounded, after being weathered for many years. Beach/ocean floor sand may be sufficiently rough, but has the additional problem of having a very high chloride content, which can cause corrosion of steel reinforcing unless it is washed prior to use, wasting fresh water. As a result, coarse river sand is commonly used.
Unfortunately sand is a non-renewable resource (with regard to human timescales) and it’s mining is typically results significant environmental degradation. Many regions are experiencing shortages. You can read more about the issue here
We are using compacted packing sand over the roadbase, followed by a very thin layer of concrete sand, which can be screeded to create the final surface. We could have foregone the packing sand, but we had quite a bit of elevation to build up, and doing so entirely with roadbase would have been a more expensive alternative.
In the images below, the packing sand is easily identified by it’s deep orange color relative to the pale, beachy yellow of the concrete sand.
To provide for adequate drainage during rain, and to avoid splashed pool water draining back into the pool while carrying all of the dirt from the pool deck with it, the deck is sloped away from the pool towards the drain we installed along the rear wall.
To create the final surface, I cobbled together a wooden screed that could rest it’s ends on the drain at one end and the pool coping at the other. The base of the screed sat ~30mm below the level of the edges, offsetting the thickness of the travertine pavers.
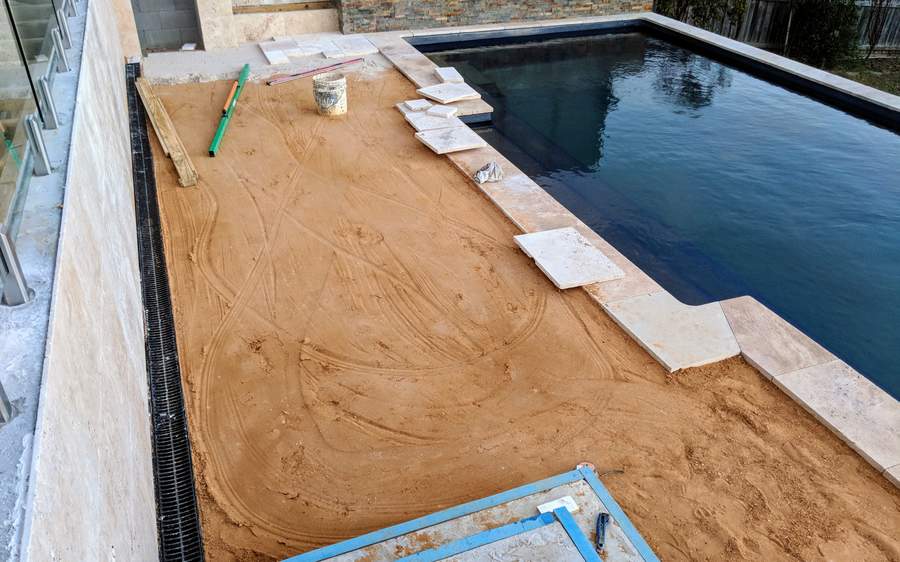
Levelled and compacted packing sand base. The initial tile laying on a thin base of concrete sand can be seen at the top.
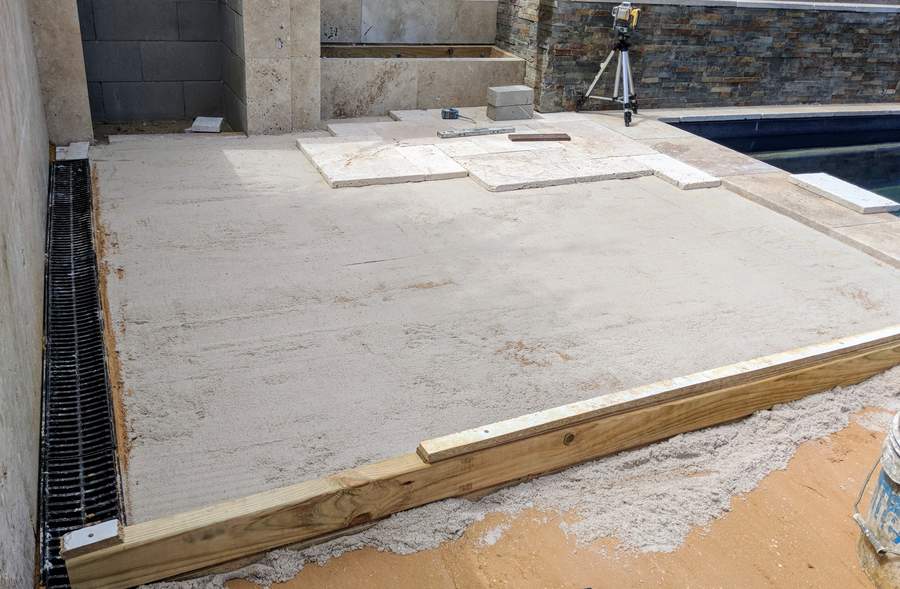
The final screeded surface, falling from the pool edge to the drain.
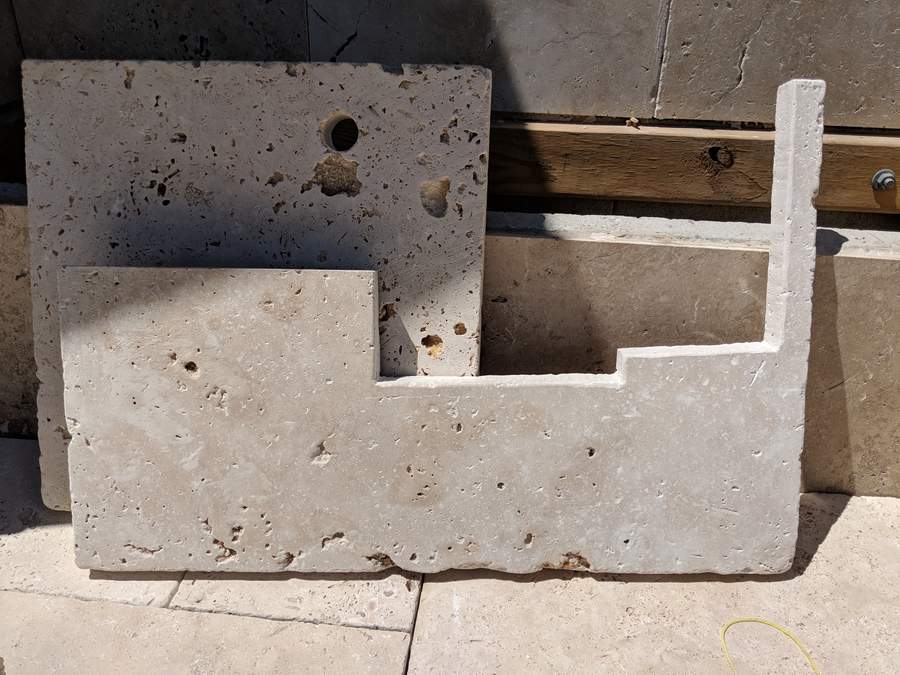
Unlike the cupboard/seat/flower bed area, the deck is a large flat area (thankfully) requiring minimal cutting. although the east edge was somewhat complicated.
Lighting is key
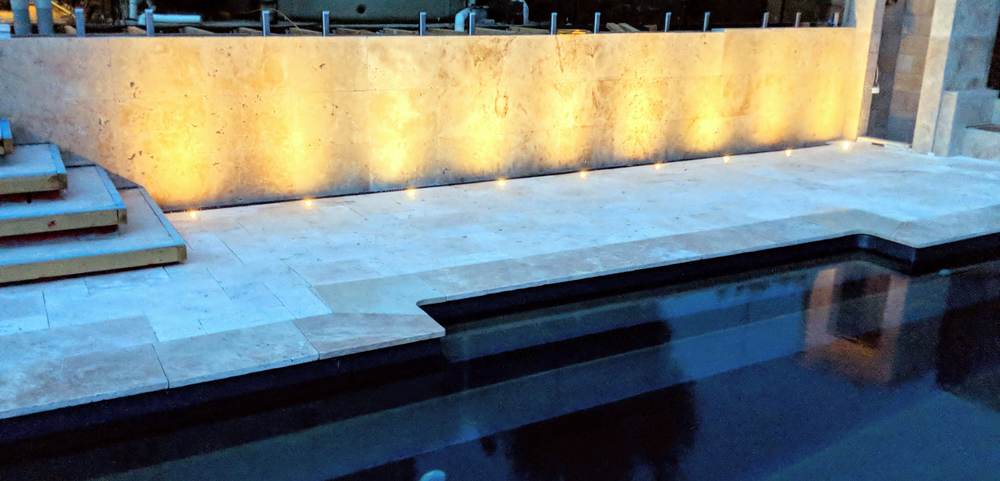
My lighting design plan calls for lights in the pool deck along the rear wall. I’m using 3 Watt LEDs with a nice warm 2700K color temperature. Spacing is around 1m. The wiring needs to sit under the pool deck and so they were installed at the same time.
Installation required drilling 30mm holes through the stone pavers, inserting the lights, and wiring them all together beneath the pavers. The lights operate from a 12 VDC supply, simplifying the wiring considerations.
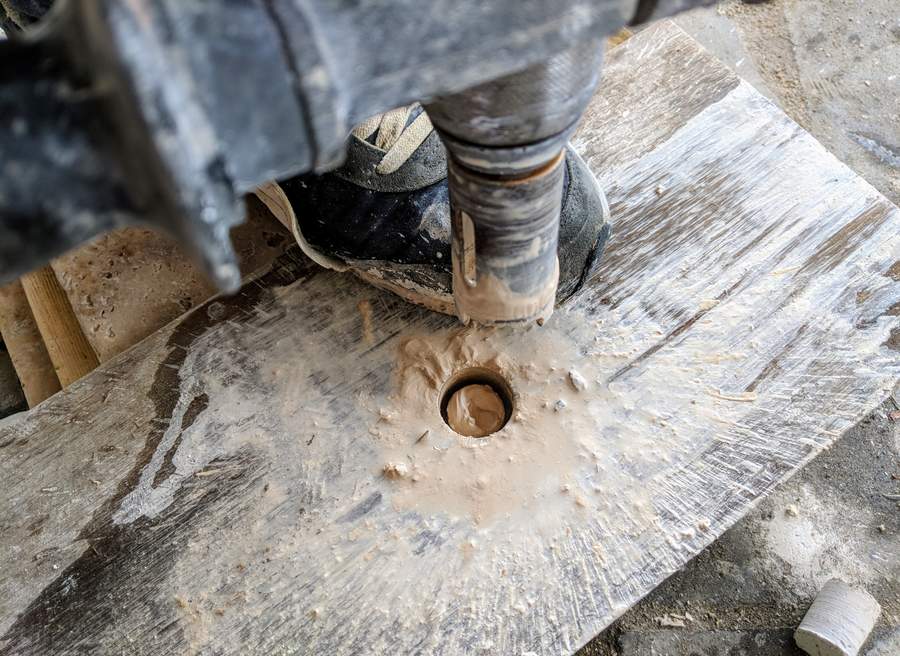
A diamond hole saw was used to cut holes in the pavers for the deck lights.
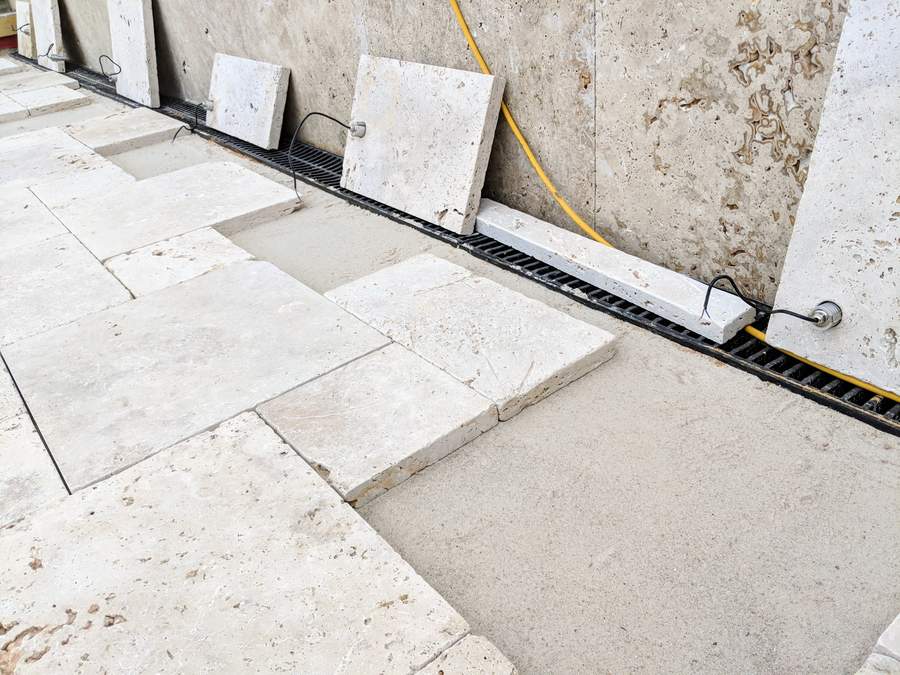
Deck lights installed in the pavers and awaiting wiring prior to installation.
I for one welcome the robot revolution
Kneeling on the ground, crouching forward while suspending 20kg 610x405mm stone pavers out in front of you is not anyone’s definition of relaxing work. I don’t mind working out in an ergonomic fashion, but using your fingertips to gently lower stone into place well in front of your center of gravity is anything but. By the end of it I was ready to welcome our coming robot overlords.
The final step is to sweep concrete sand into the gaps between each of the pavers, ensuring they remain in place and giving a more uniform appearance by reducing the darkness of the joins.


